3D Rose Card


It was time to create a thank you card for another preceptor who I had immense gratitude for. They were such a role model when it came to patient care and communication - taking time to explain pathologies and treatment plans with patients, and they were also a source of light and brightness for me in the office because I really look up to them.
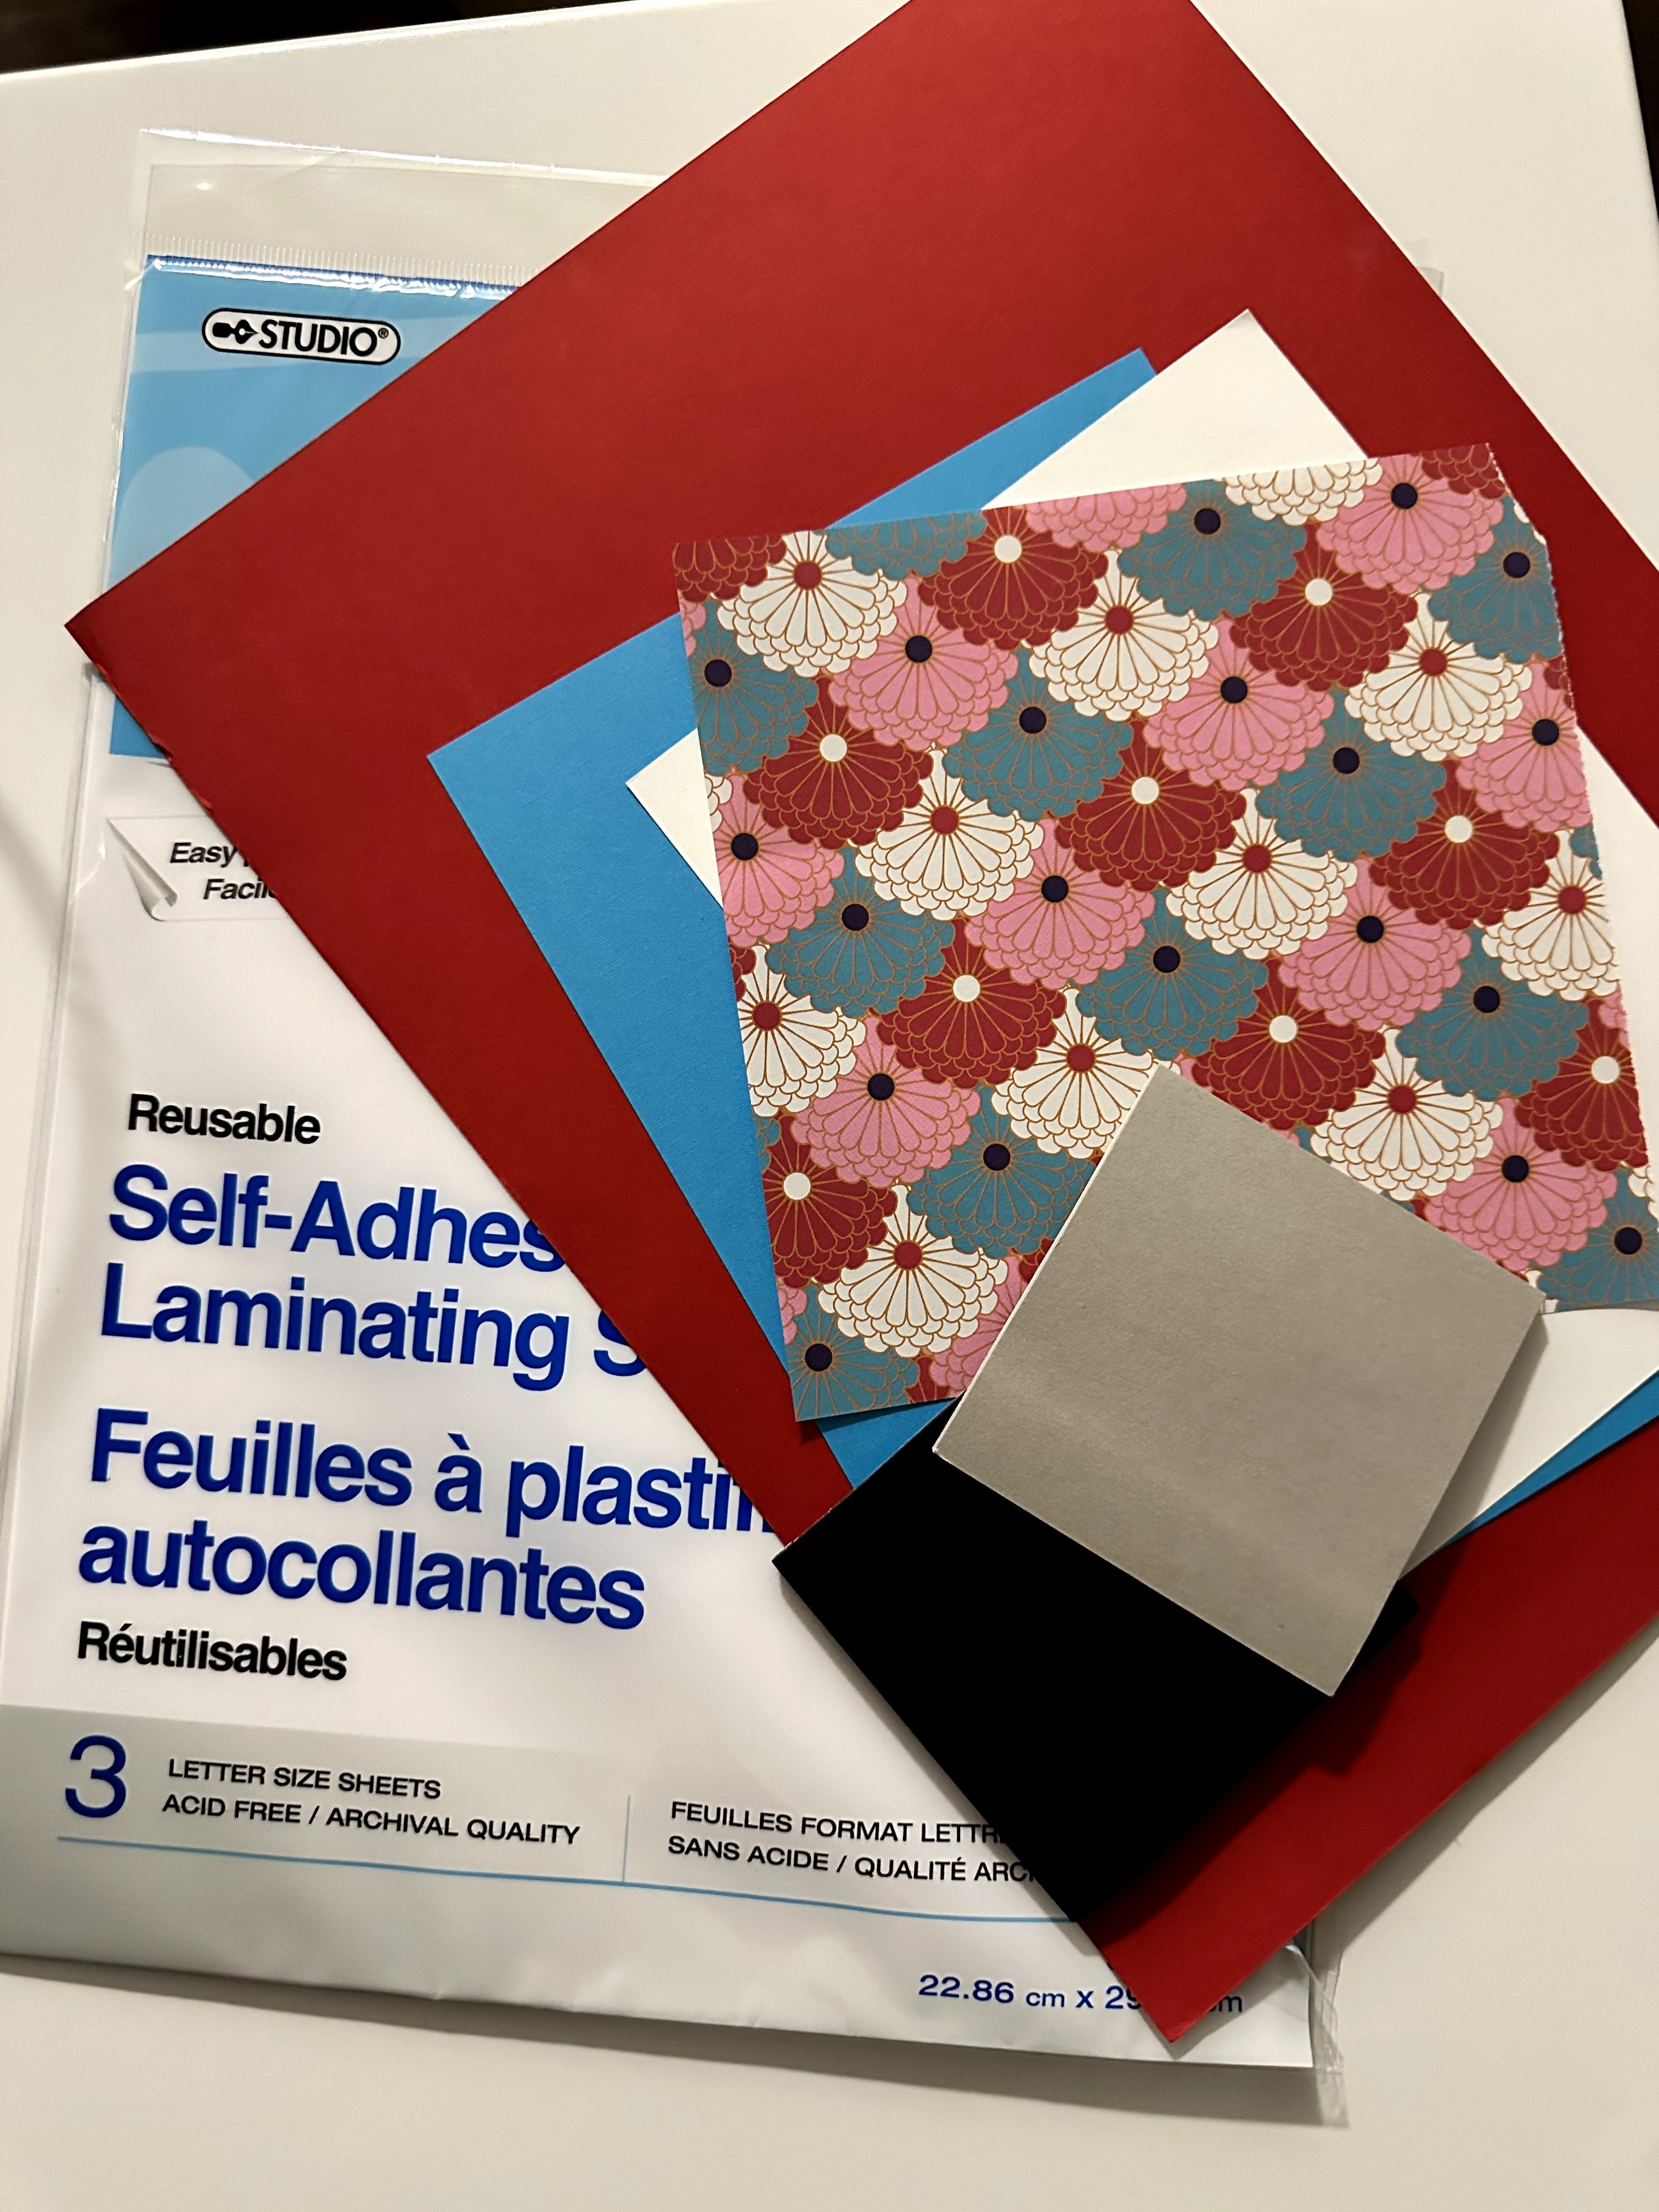
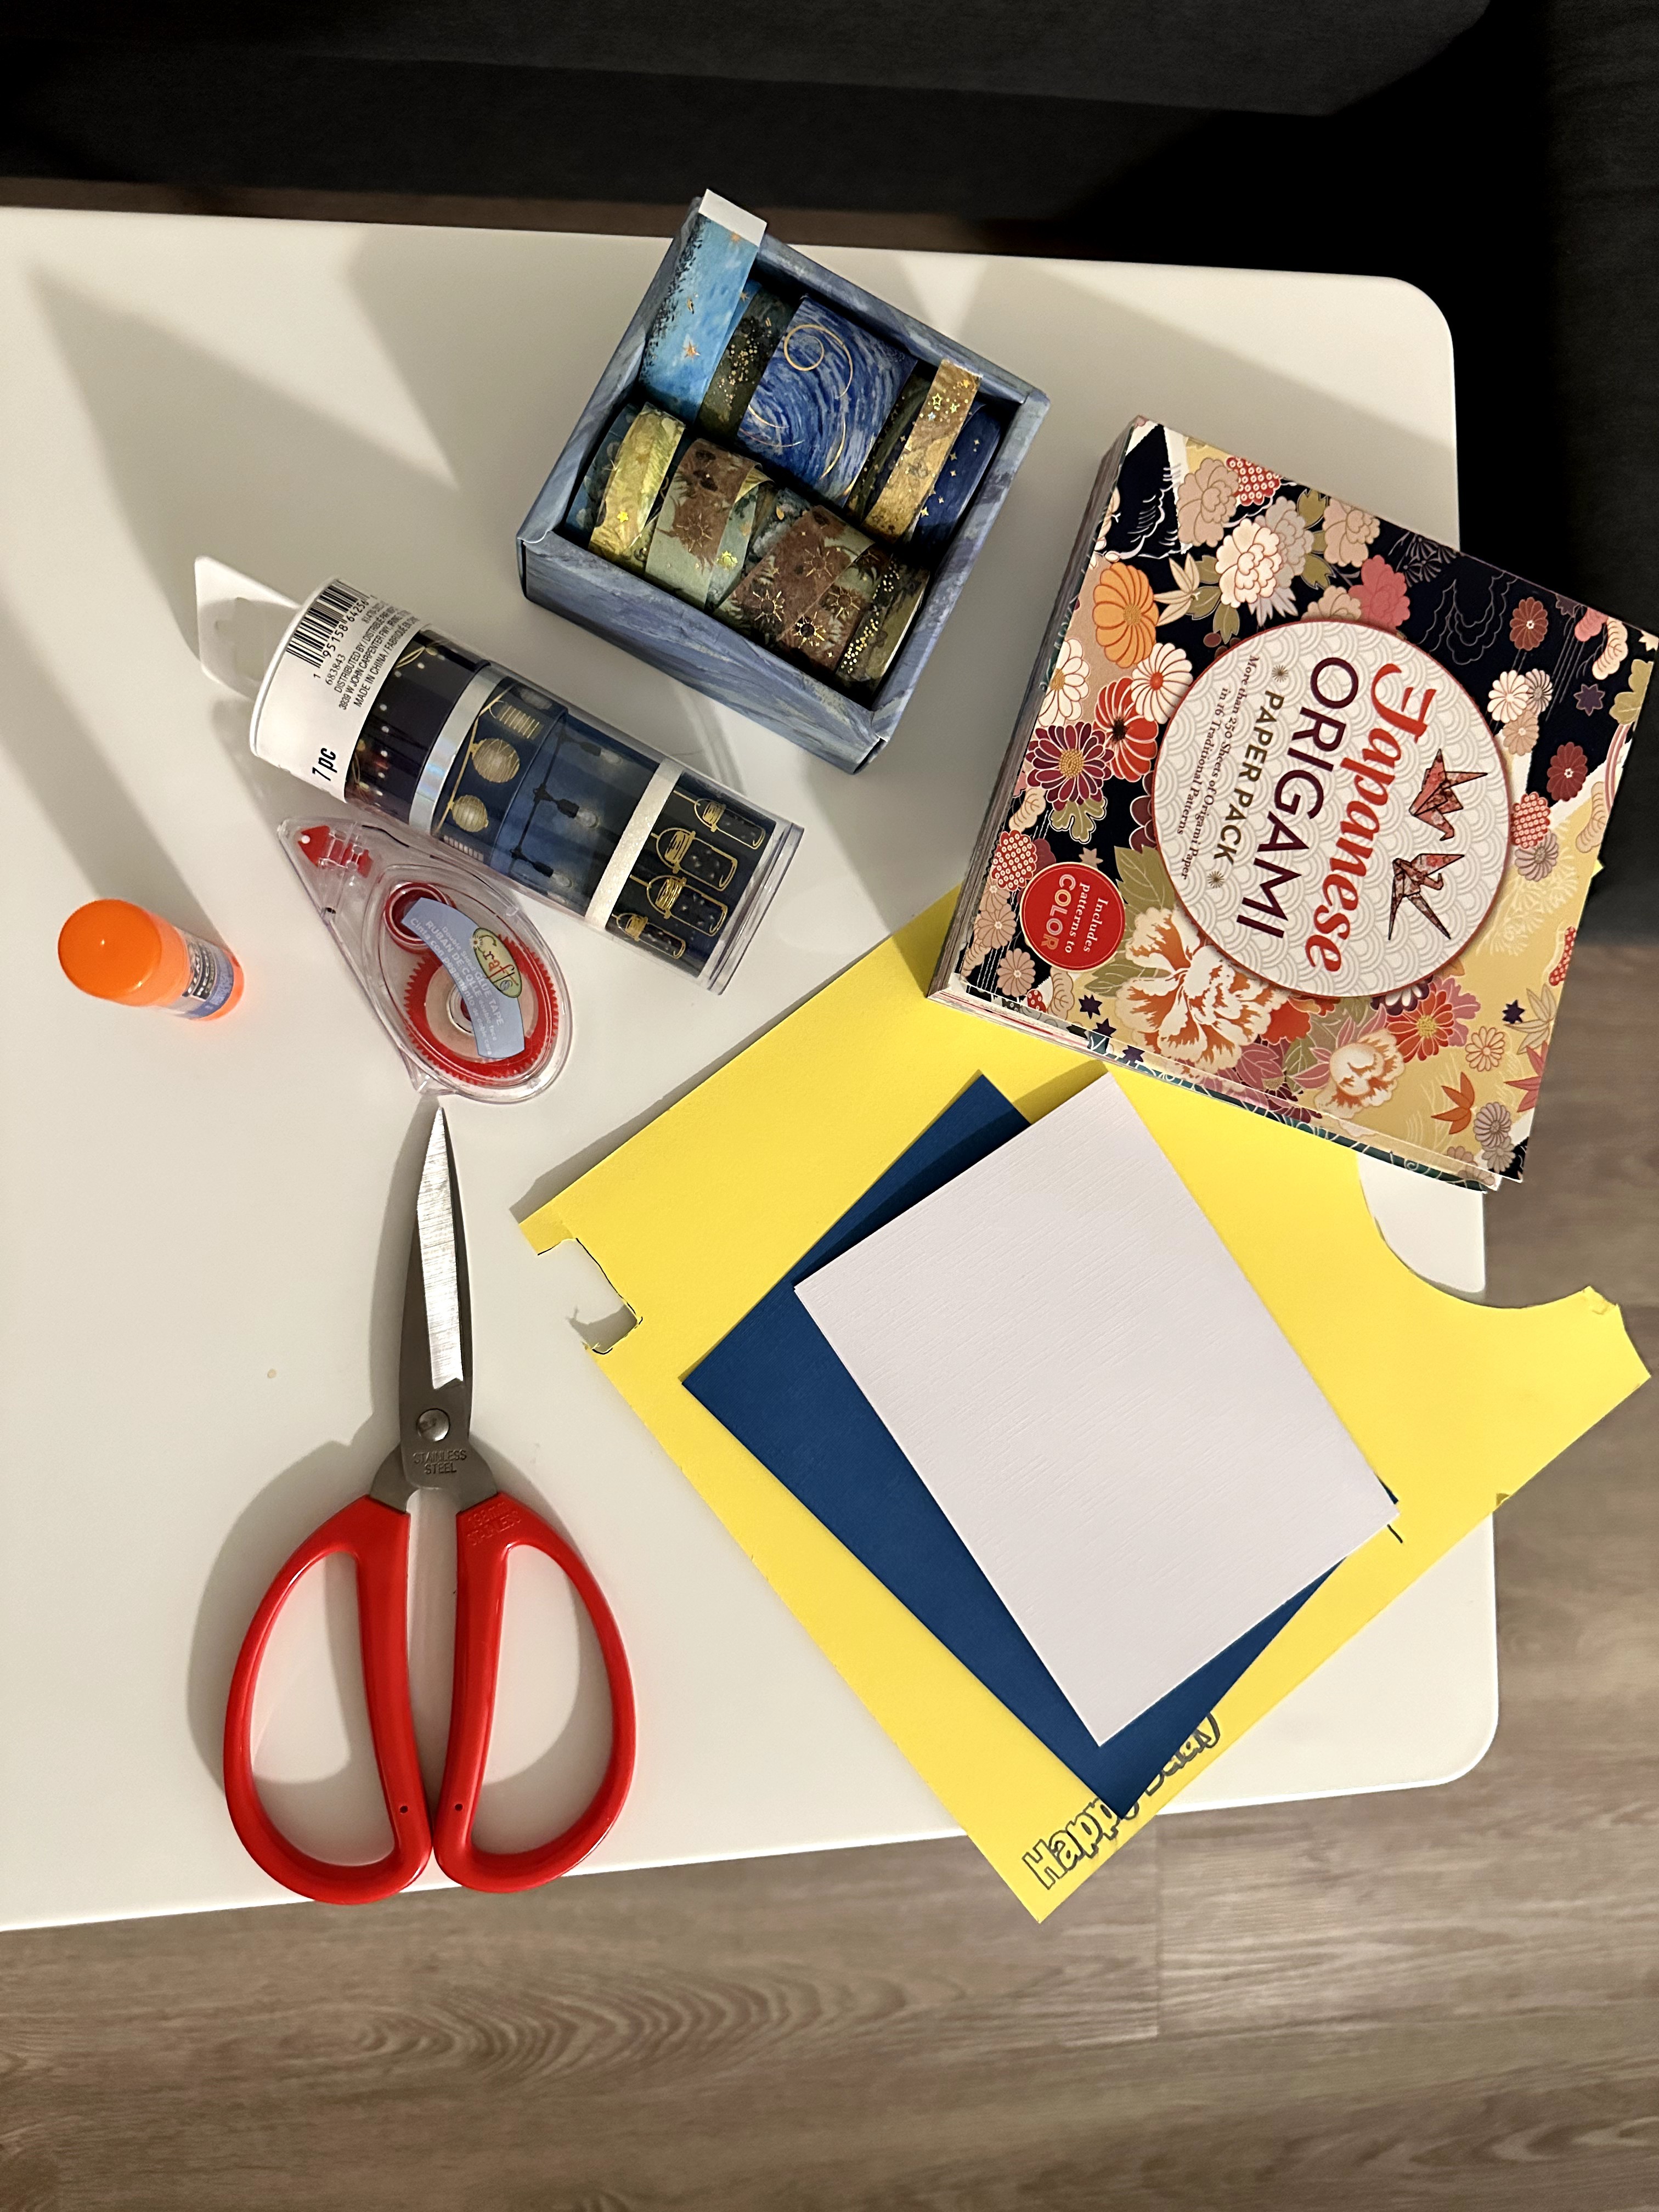
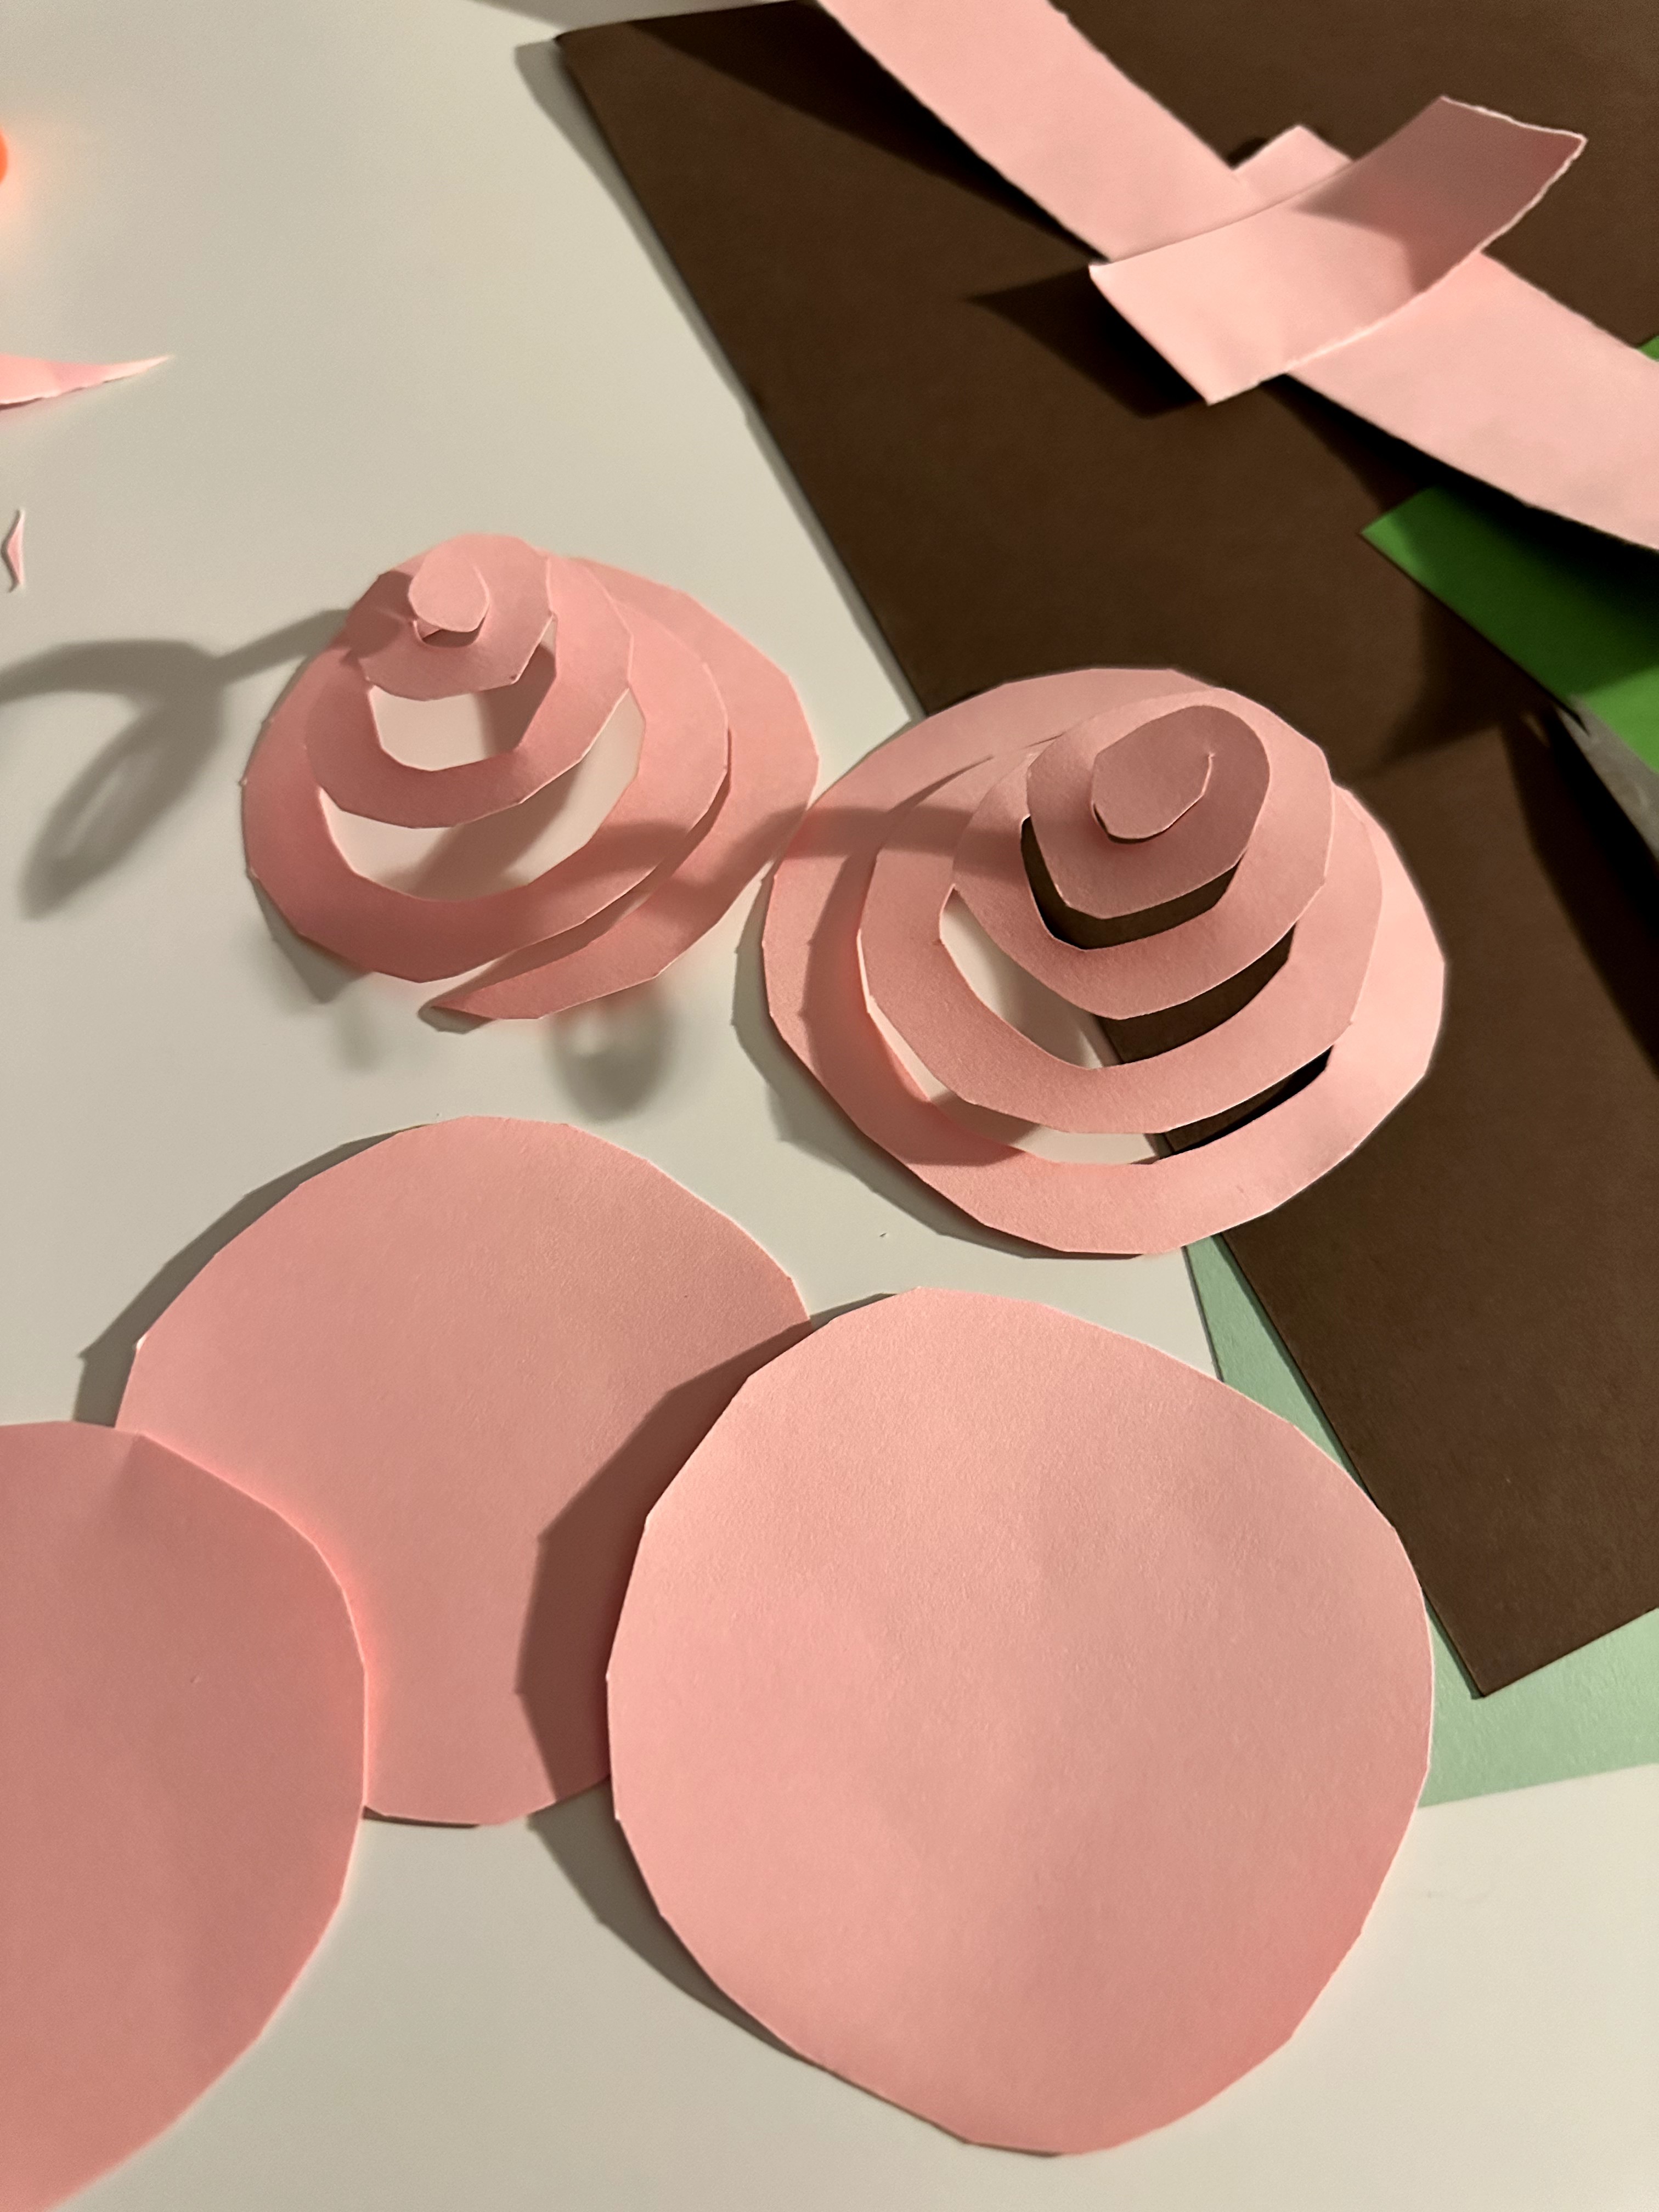
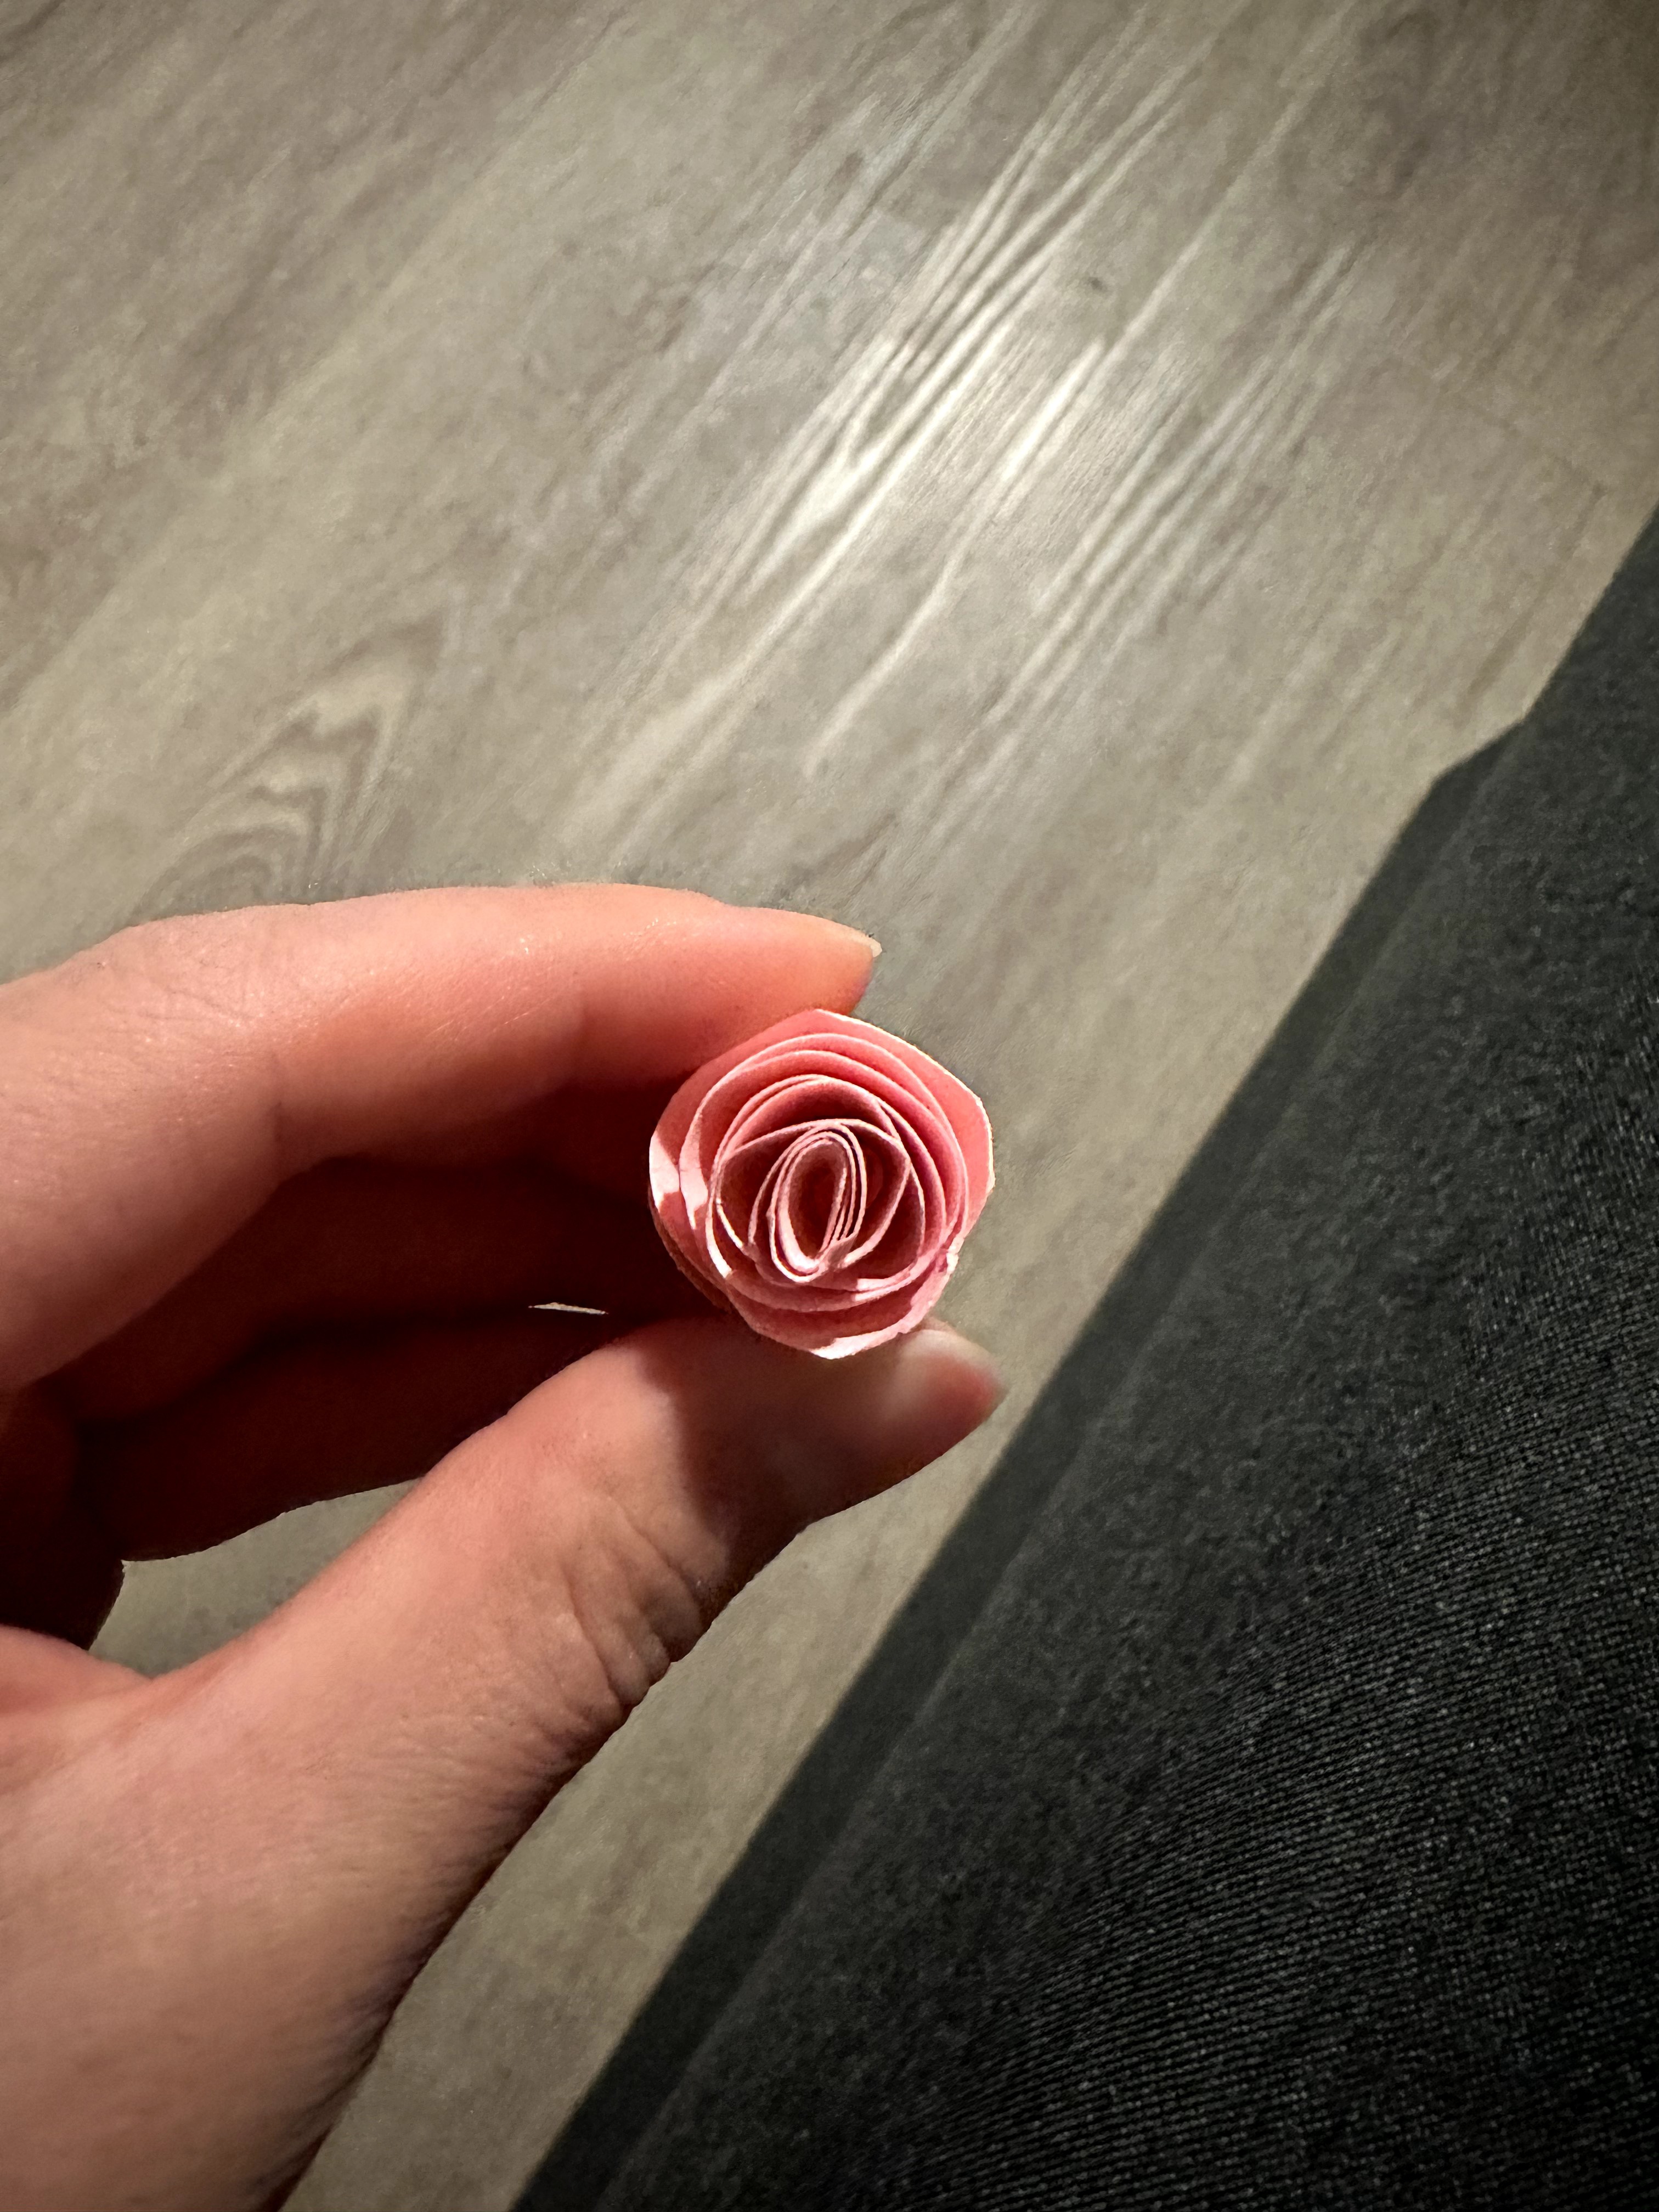
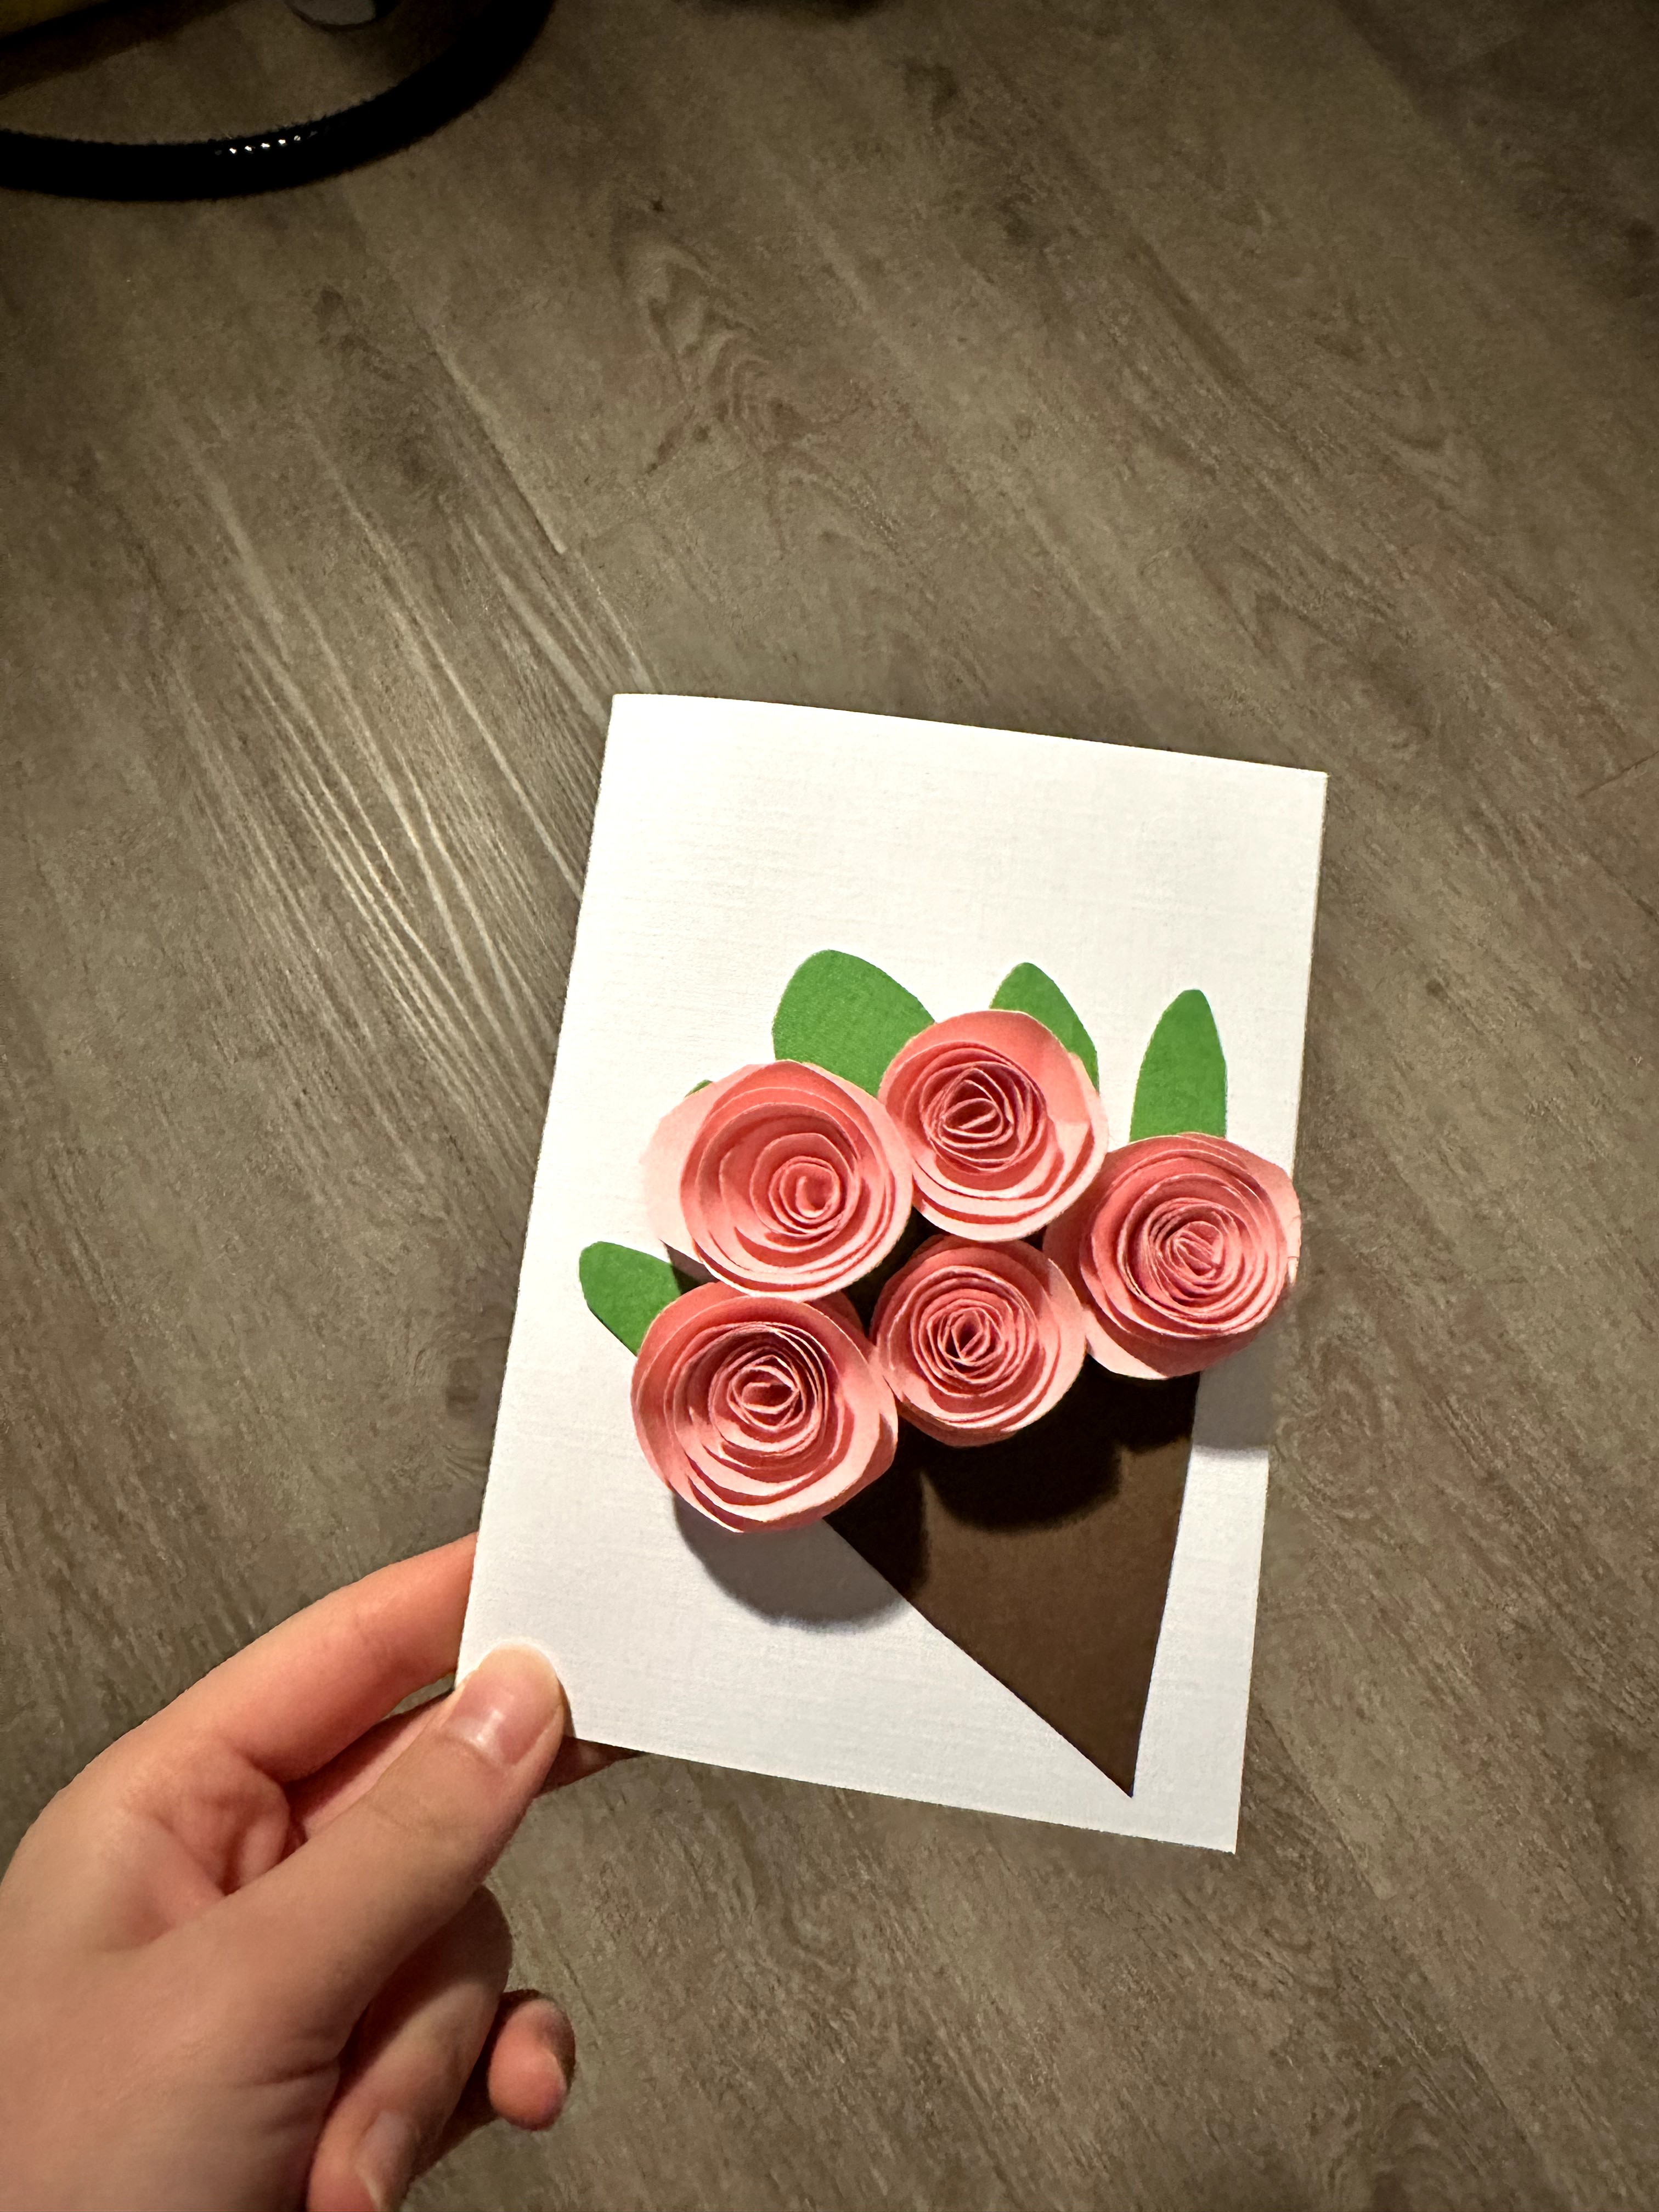
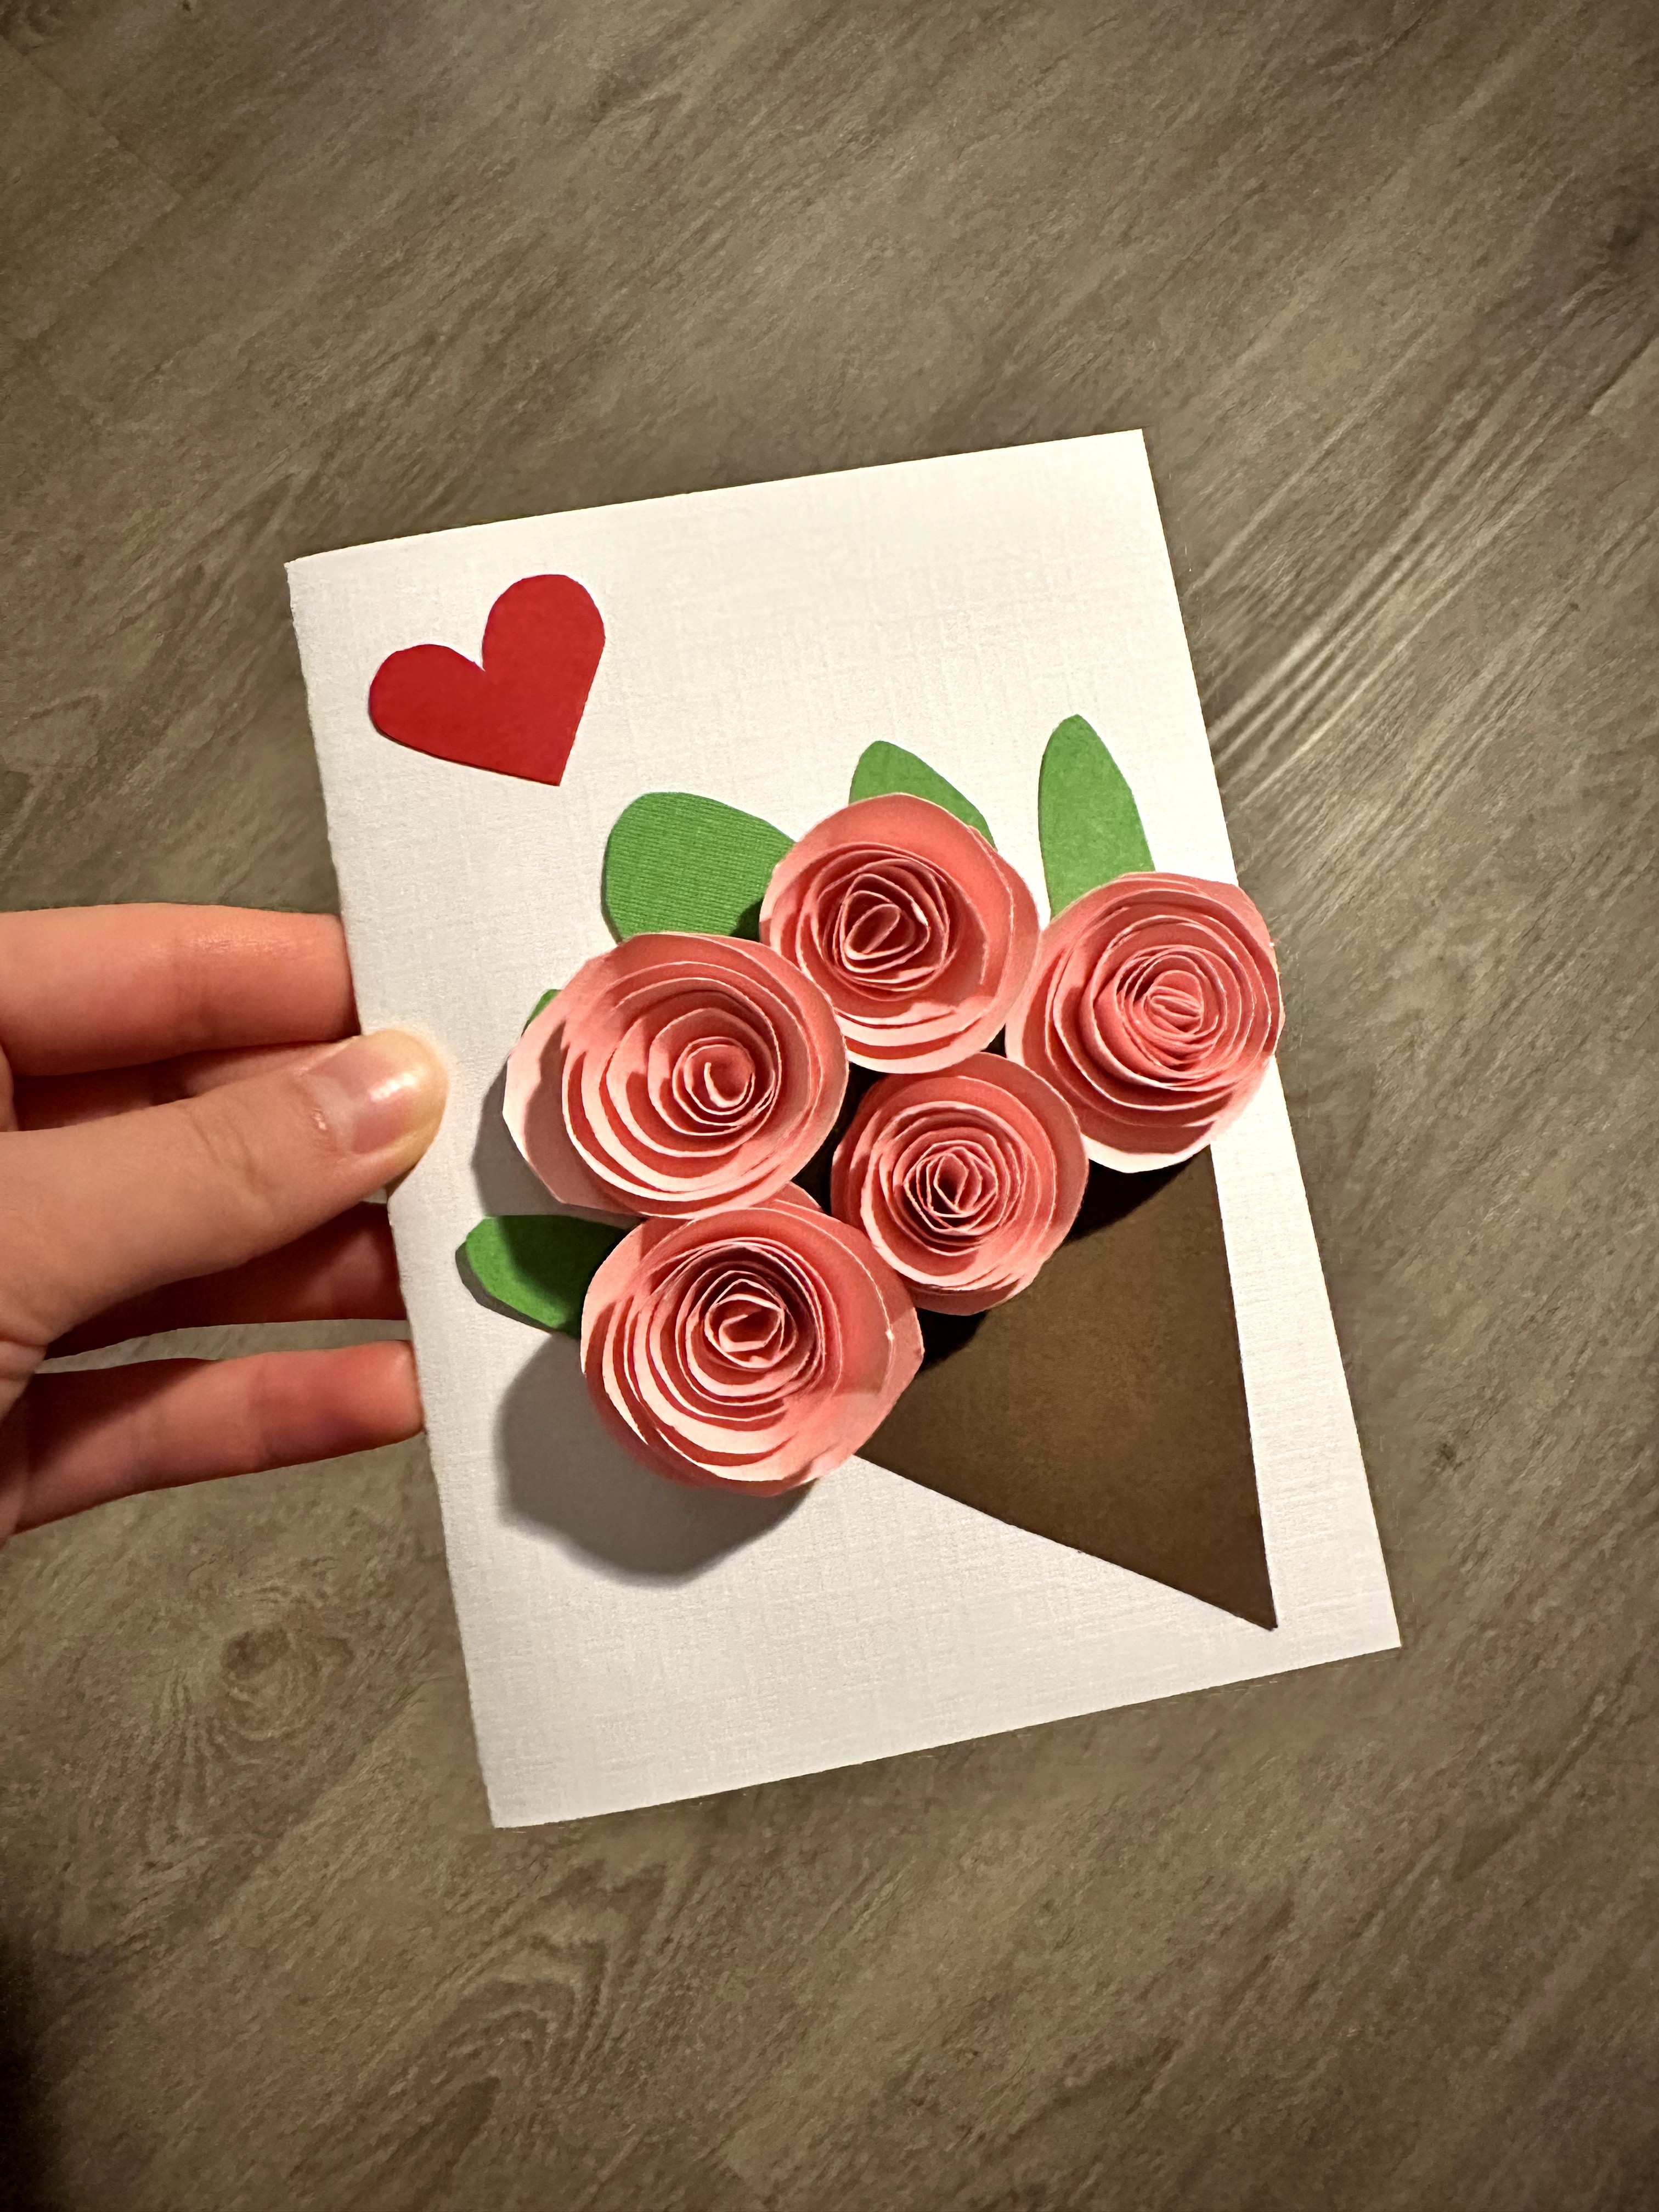
Therefore, the card I created wanted to reflect the appreciation, the empowerment and the light that they were to me. I decided on roses and searched up which colour of rose represents gratitude - pink was what Google told me. I followed this tutorial by Creations by Kara (https://www.creationsbykara.com/rolled-paper-roses-tutorial/) to create rolled roses for a 3D appearance to the card. I really like 3D cards and also pop-up cards (they are so fun!) but have not made any recently because envelopes and delivery of cards often necessitates a flat card (so that it does not get squished in the process). I was planning on putting this card in a bag with some other treats so hopefully it wouldn't be squished too much.
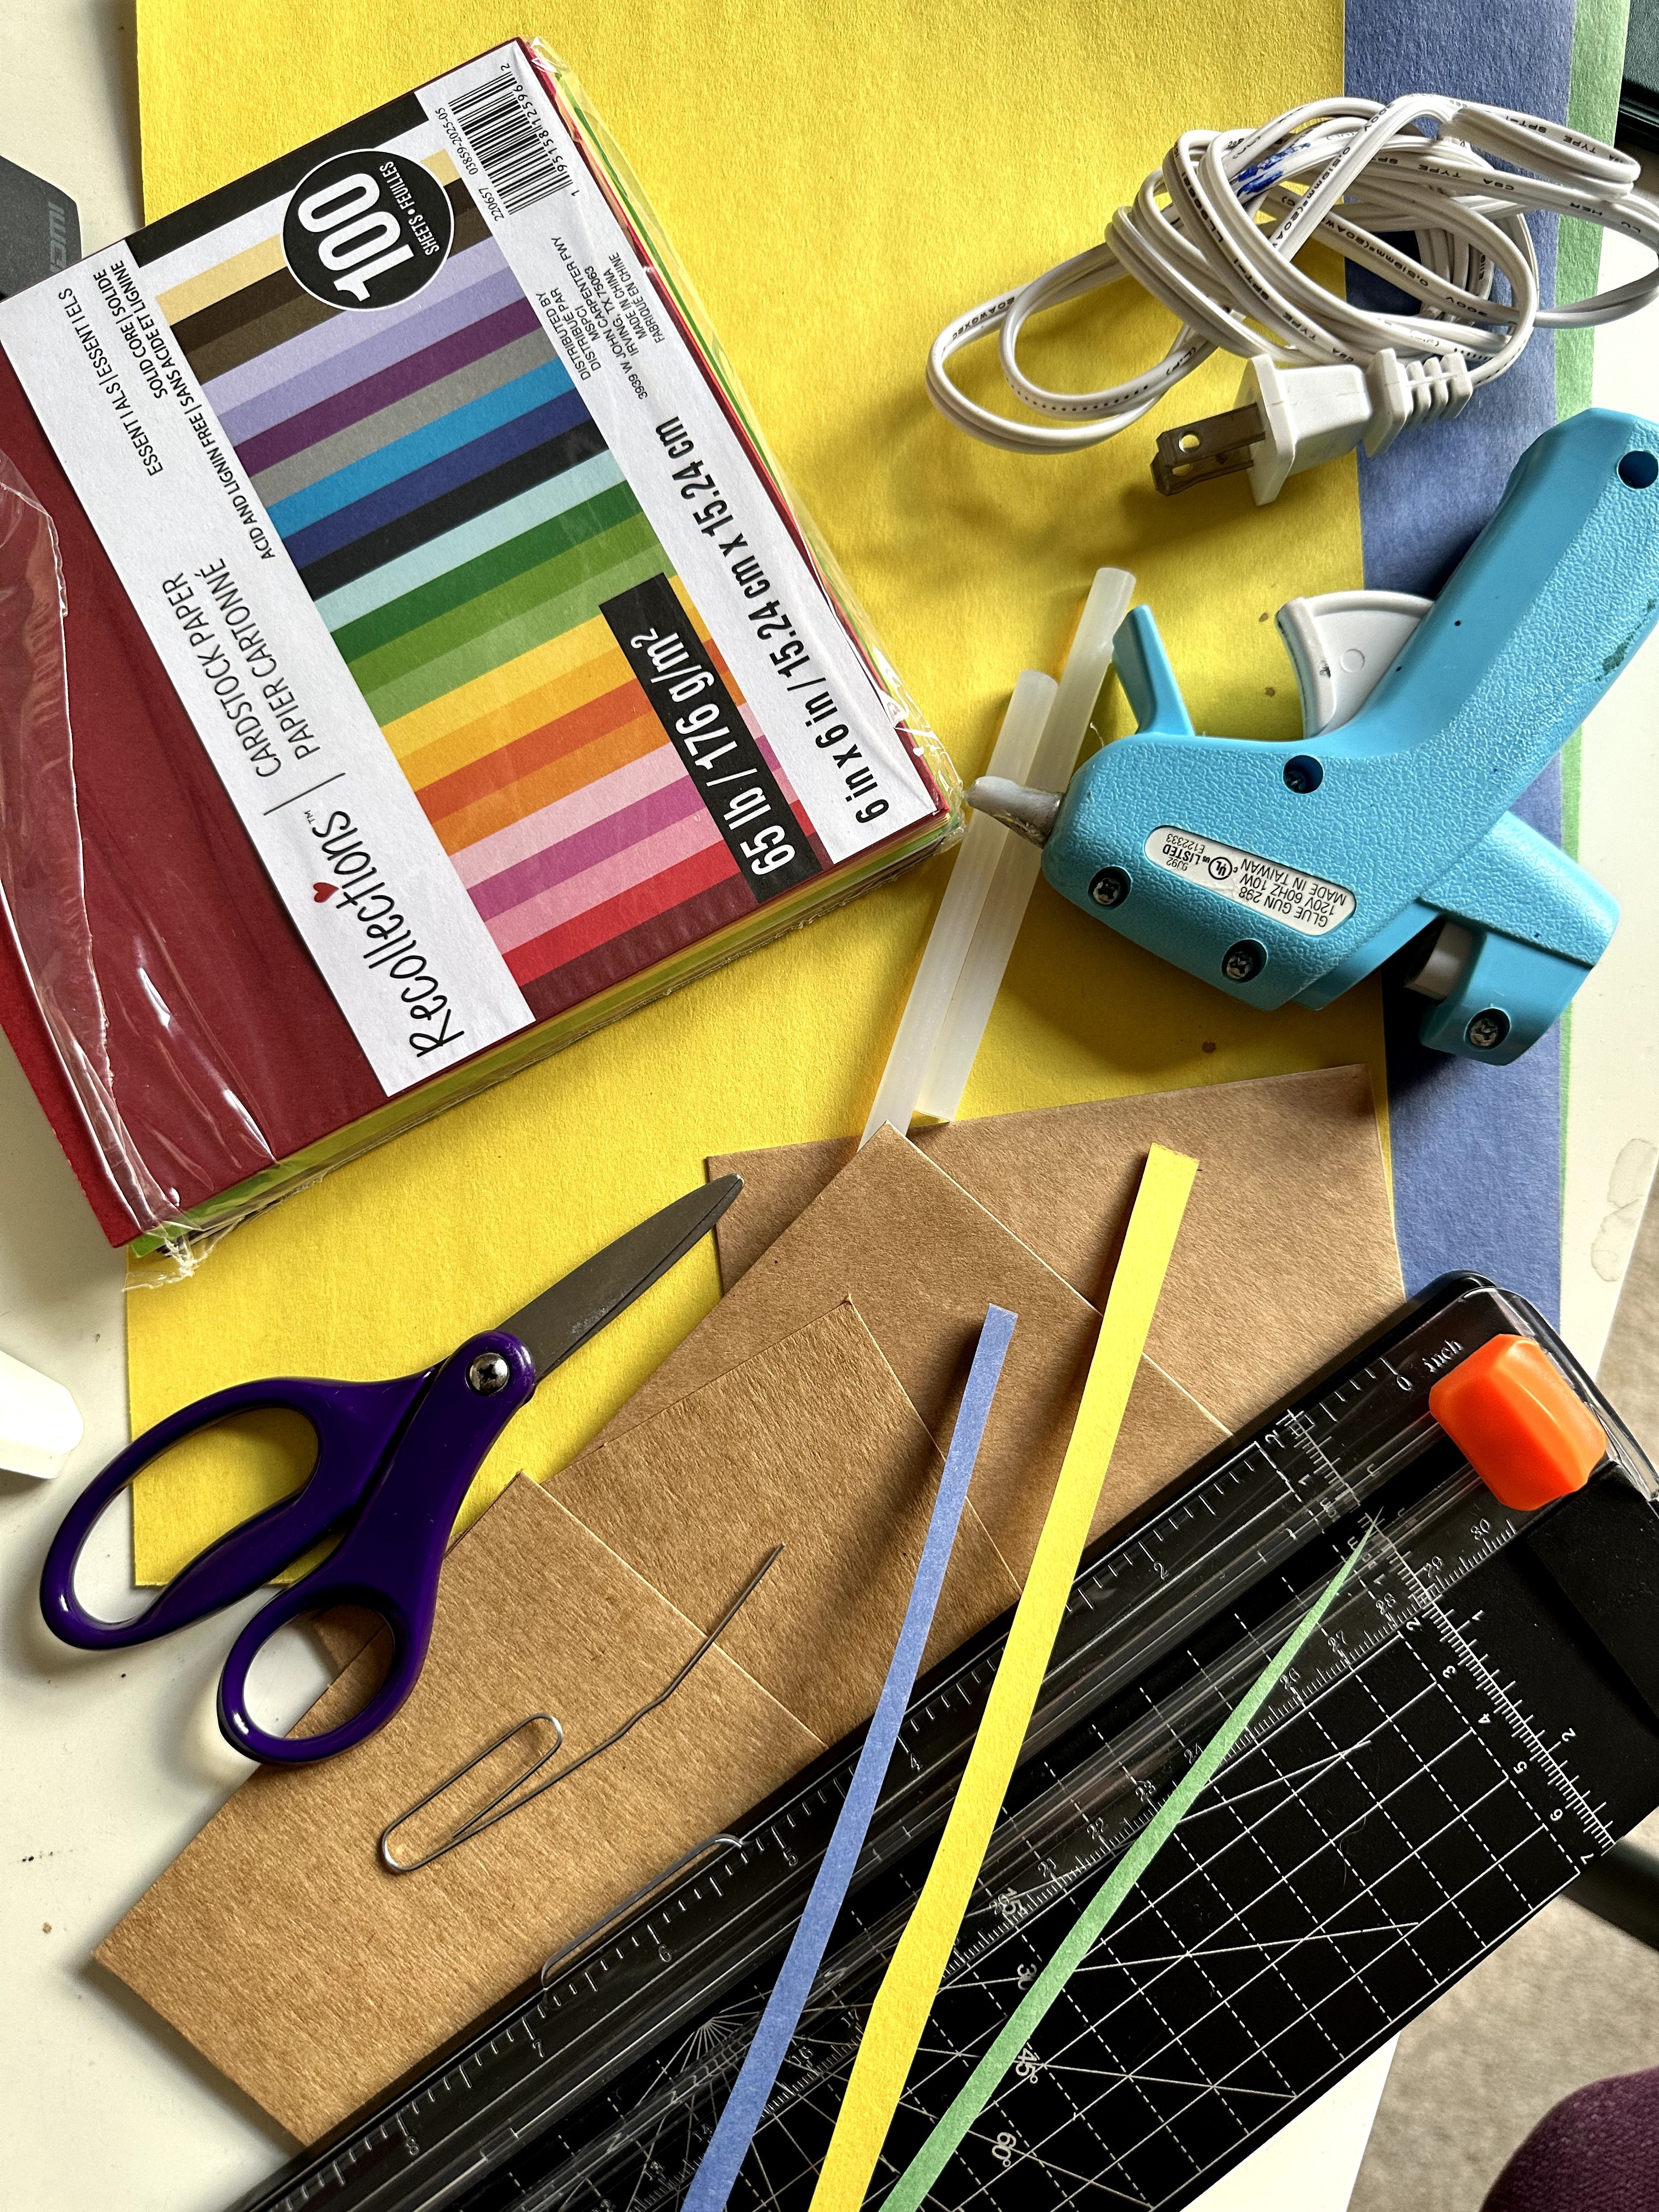
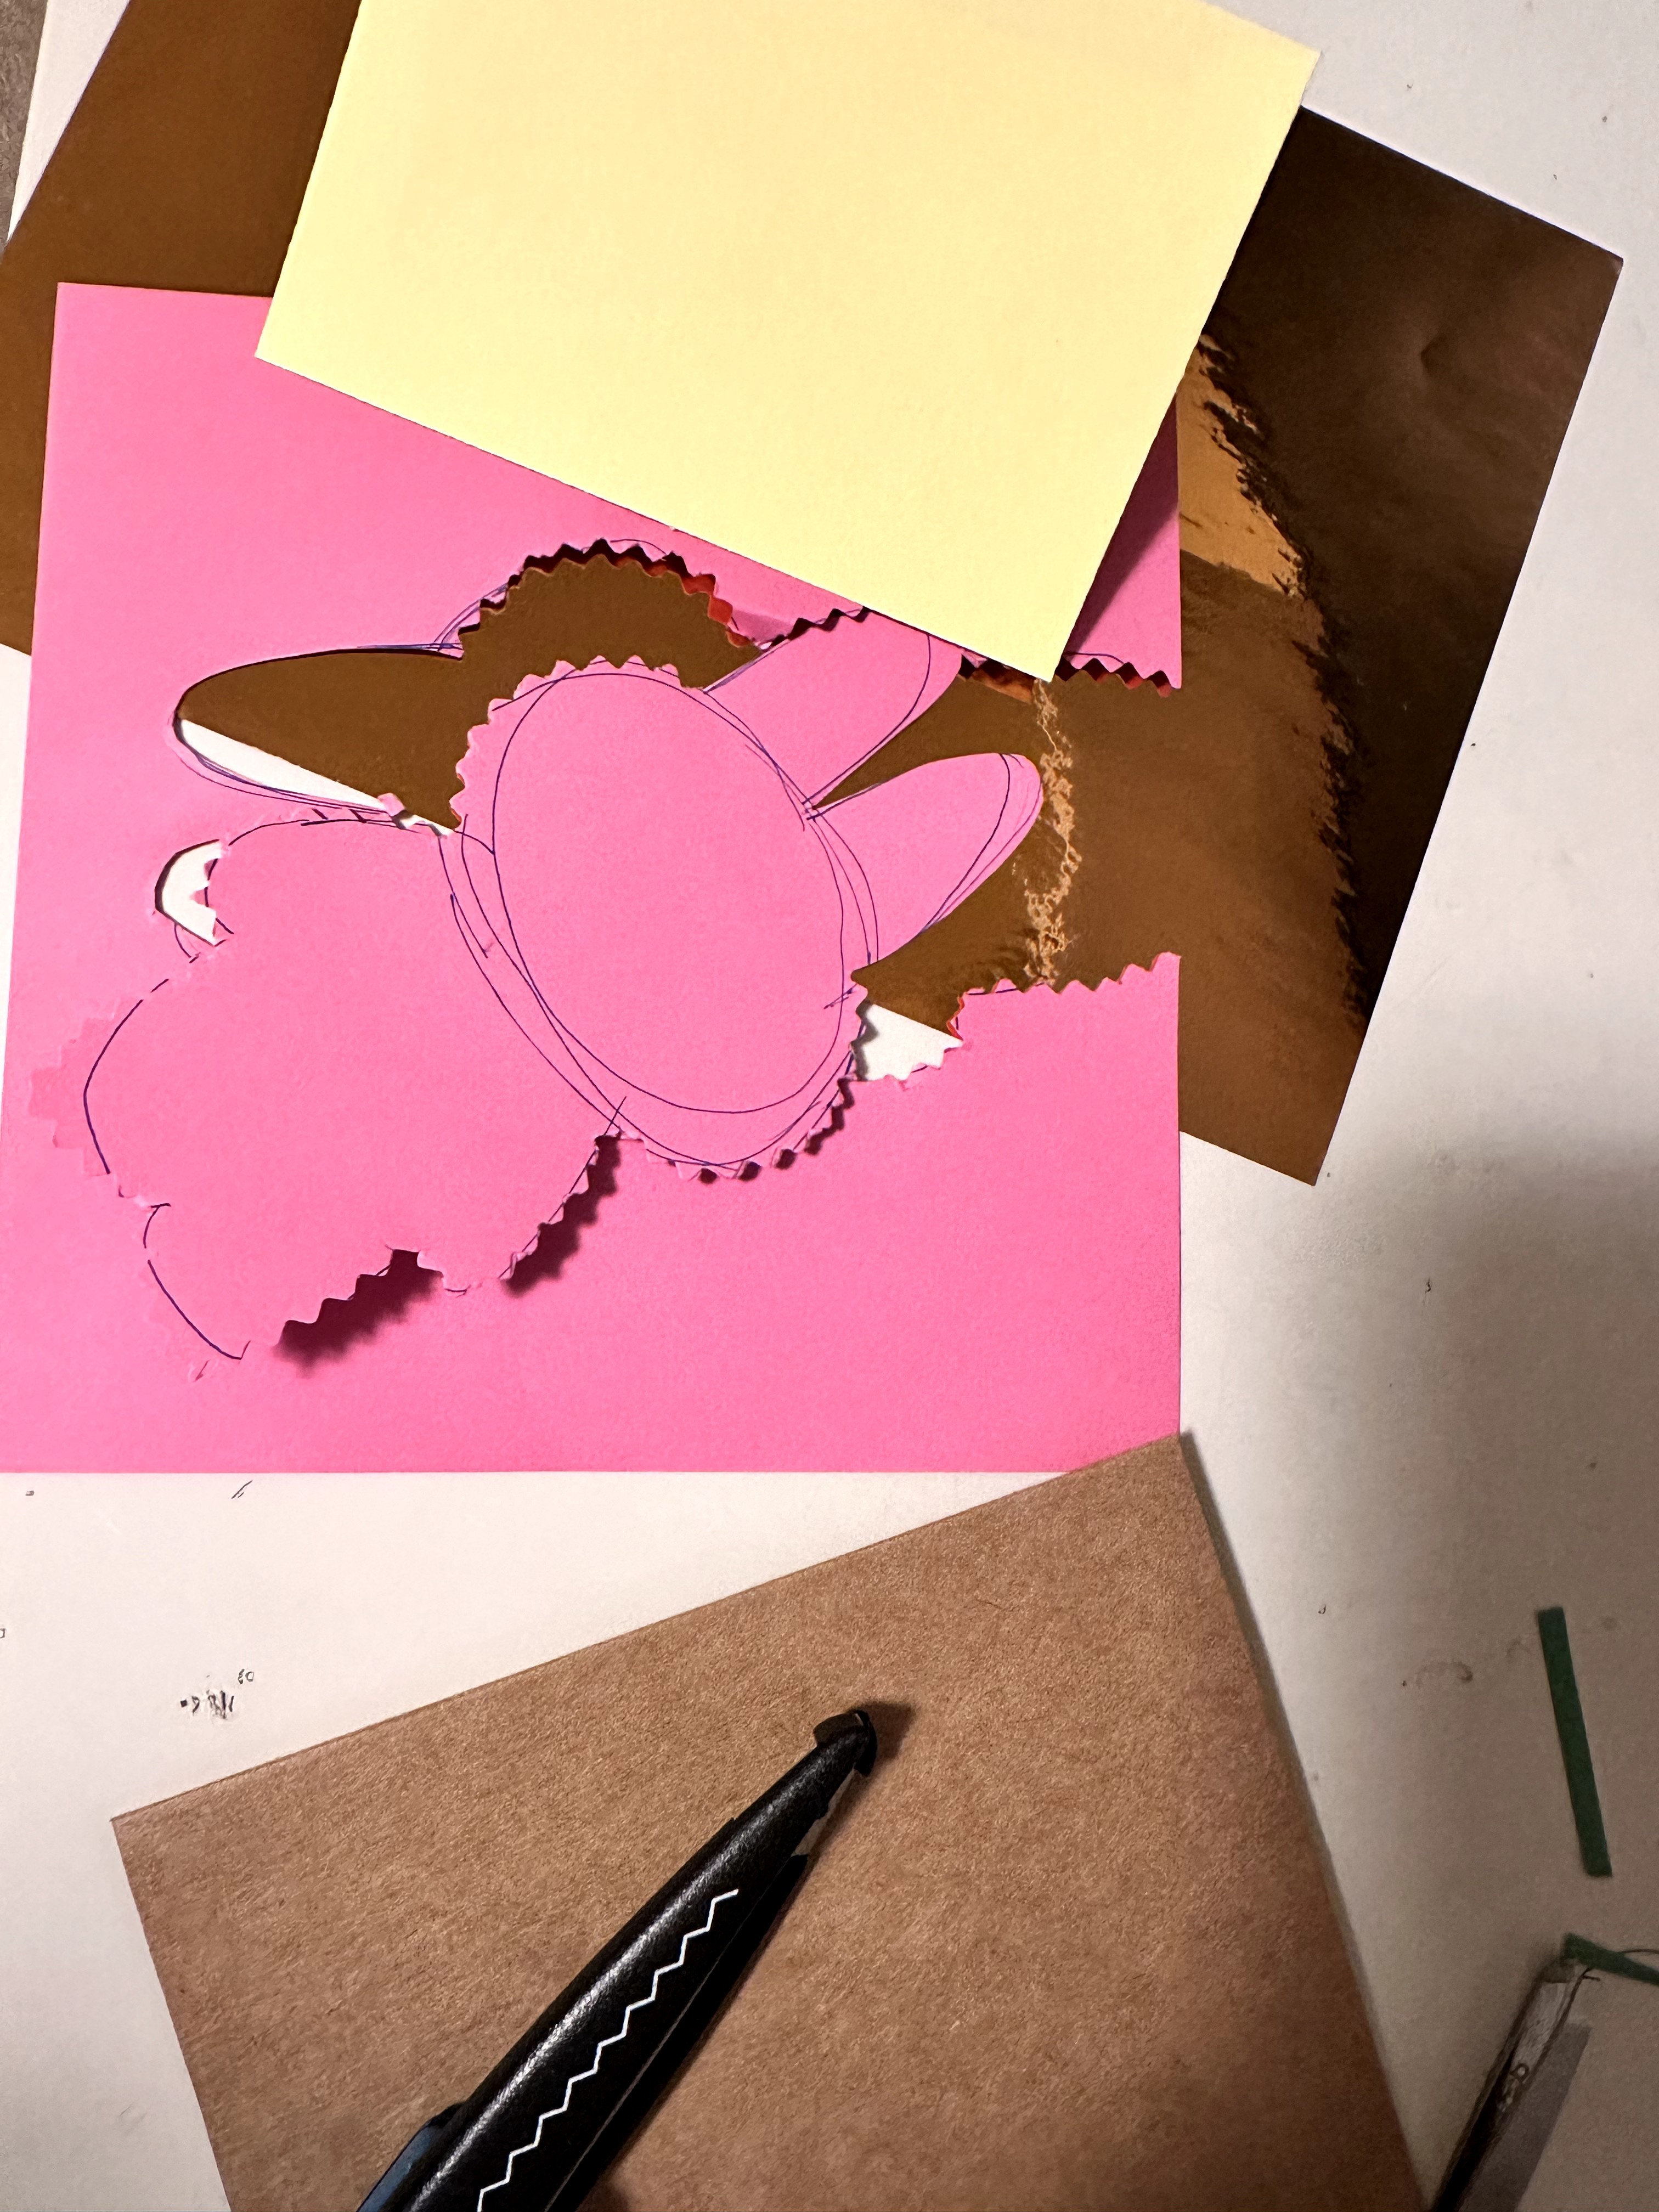
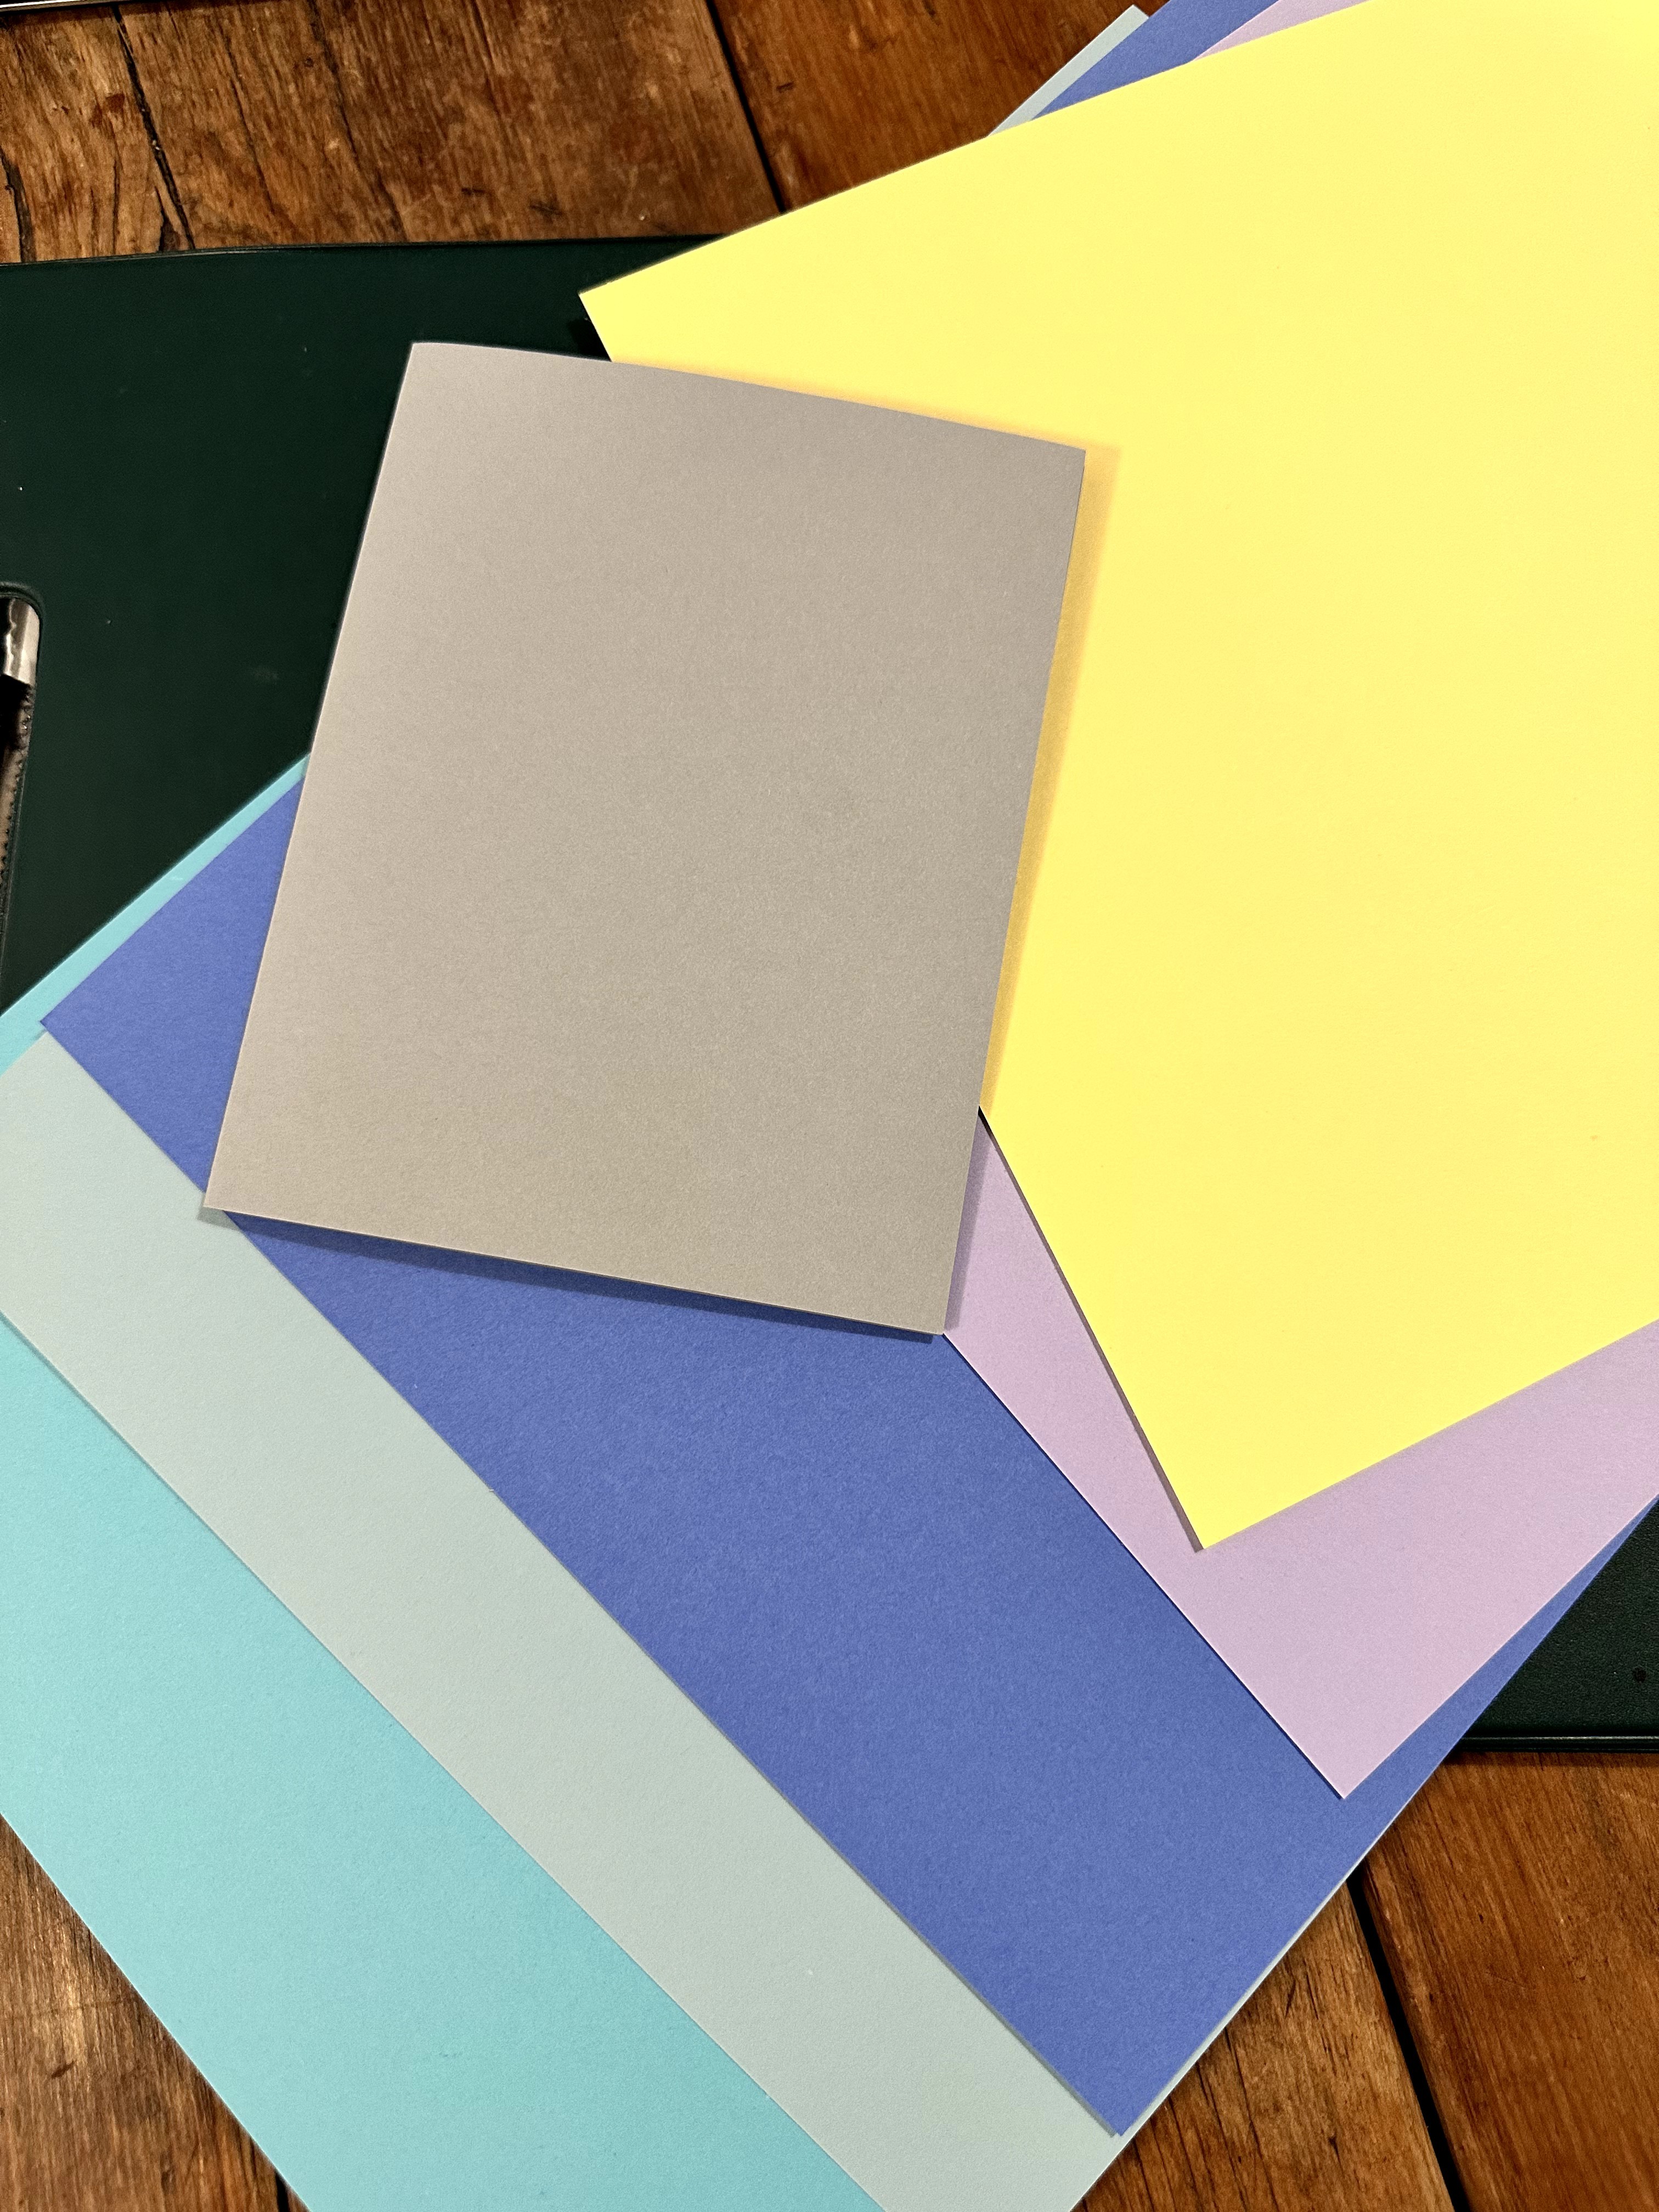
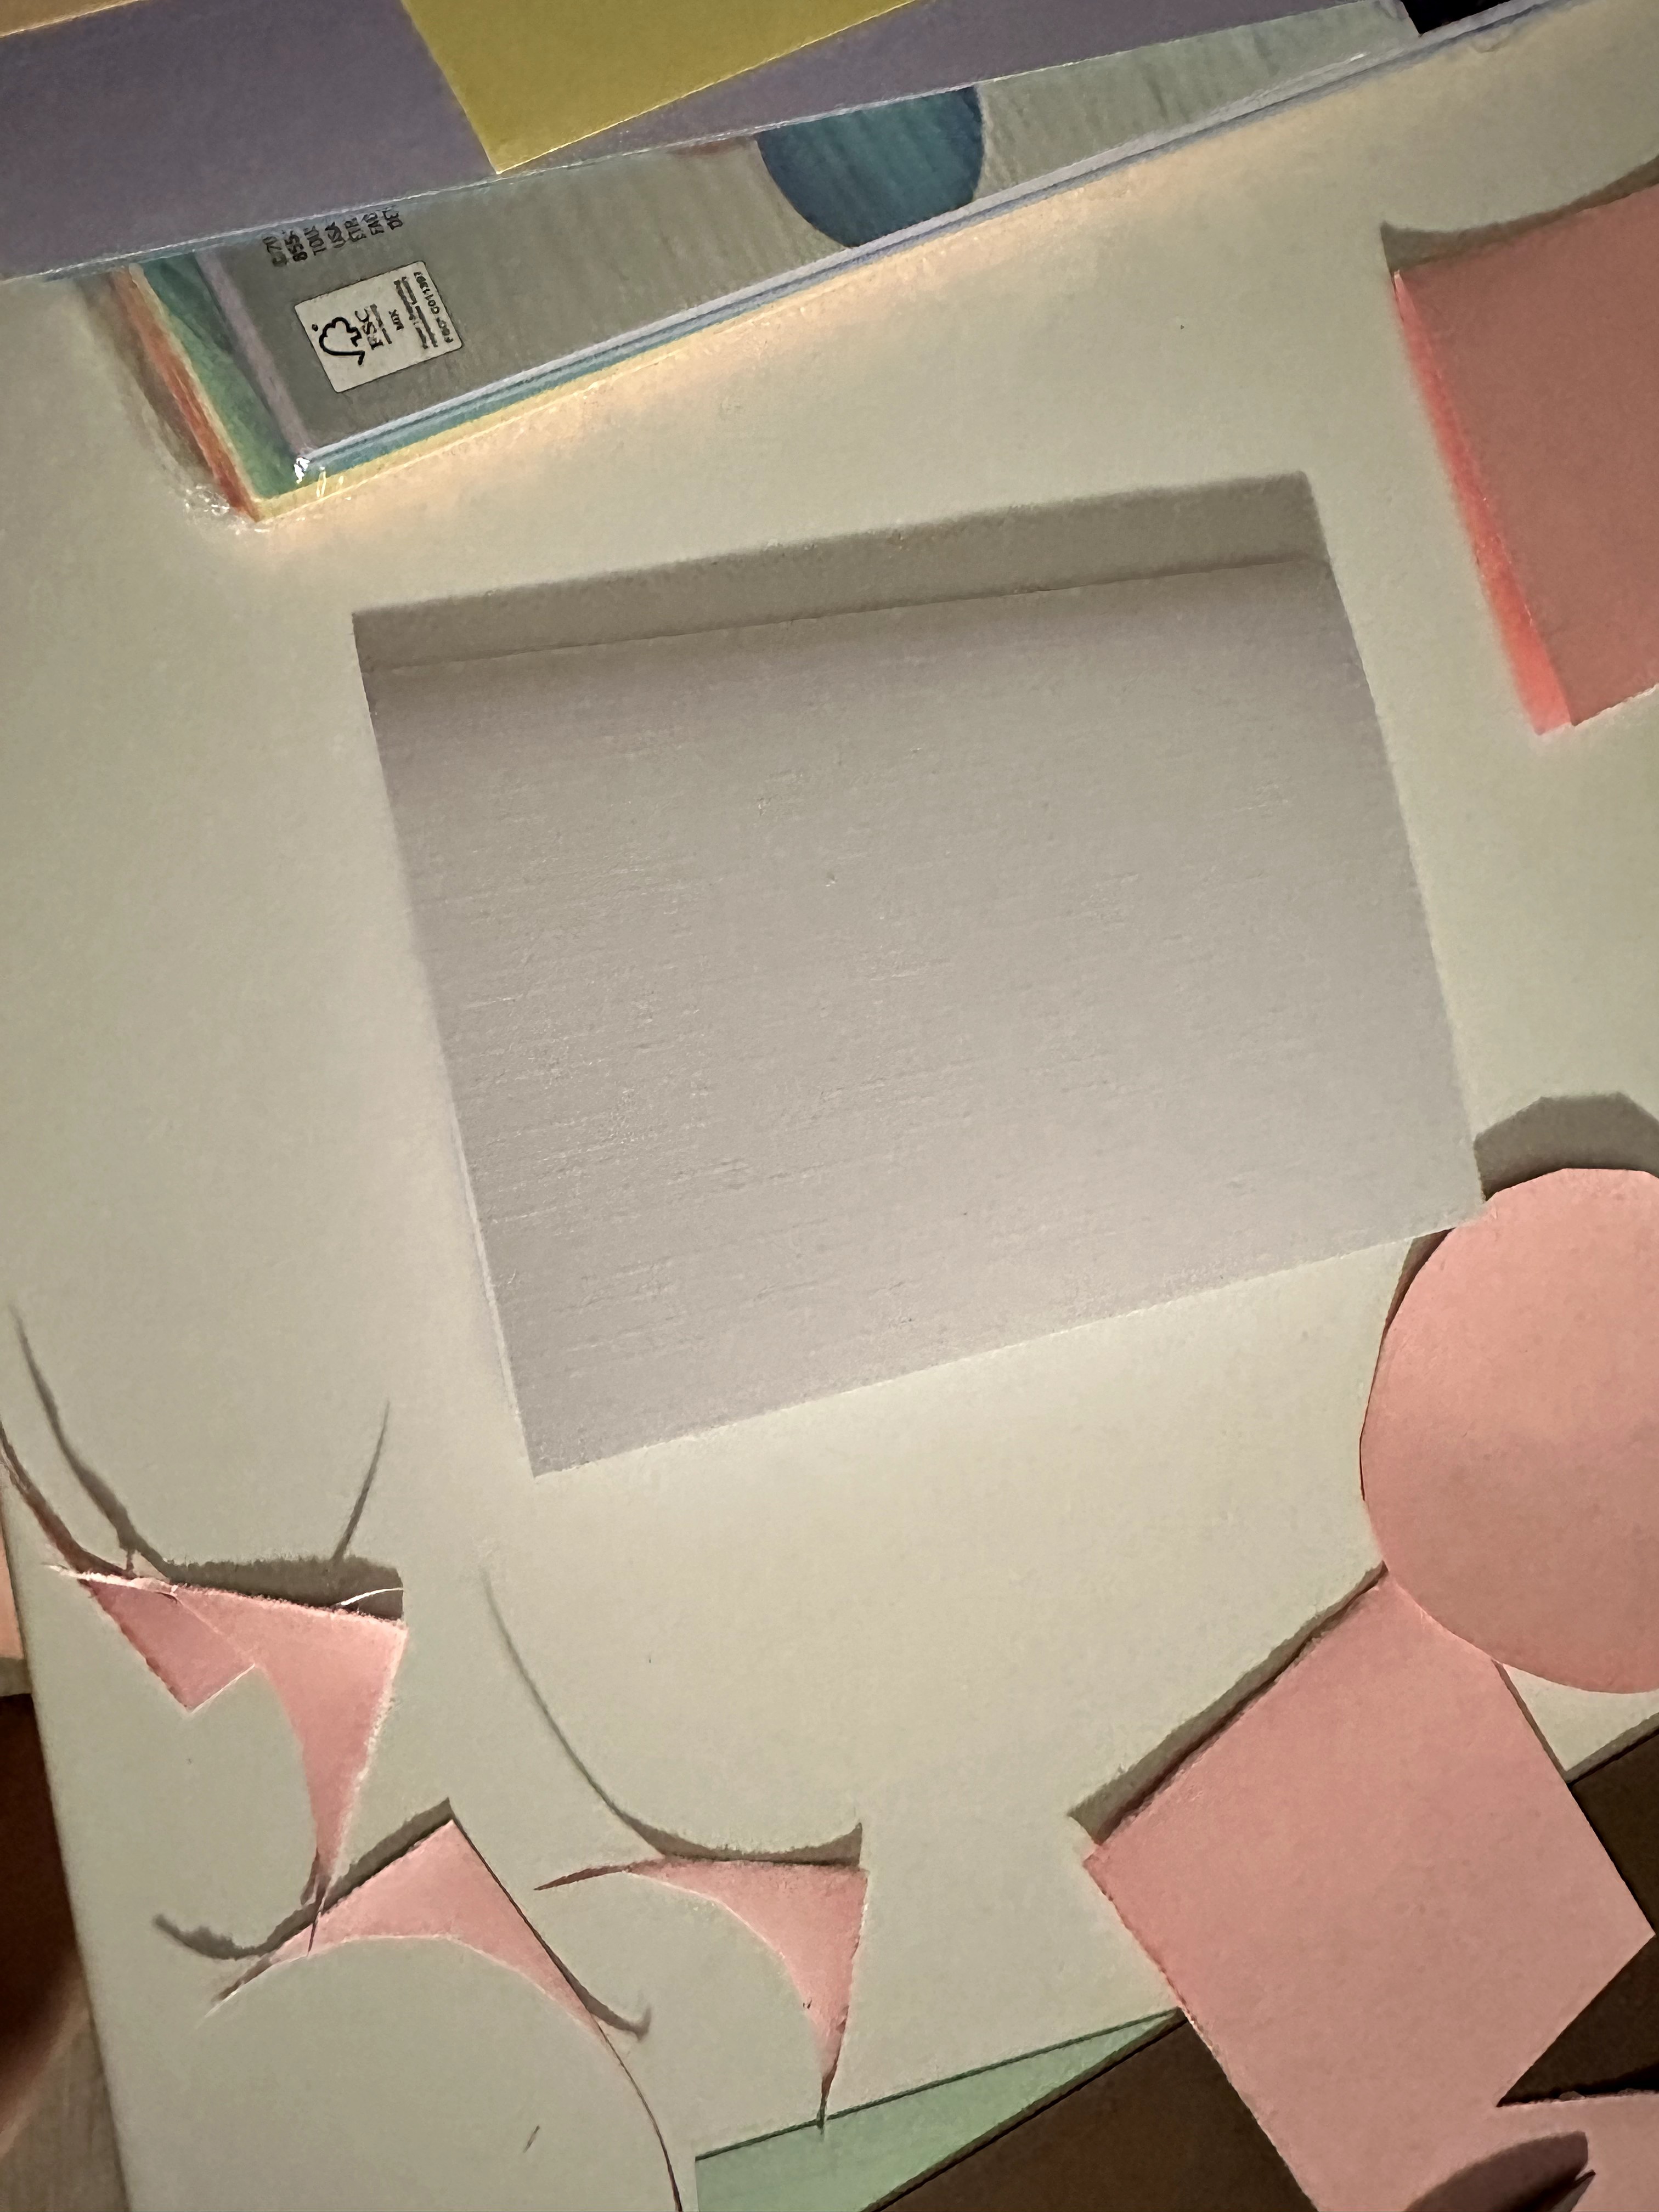
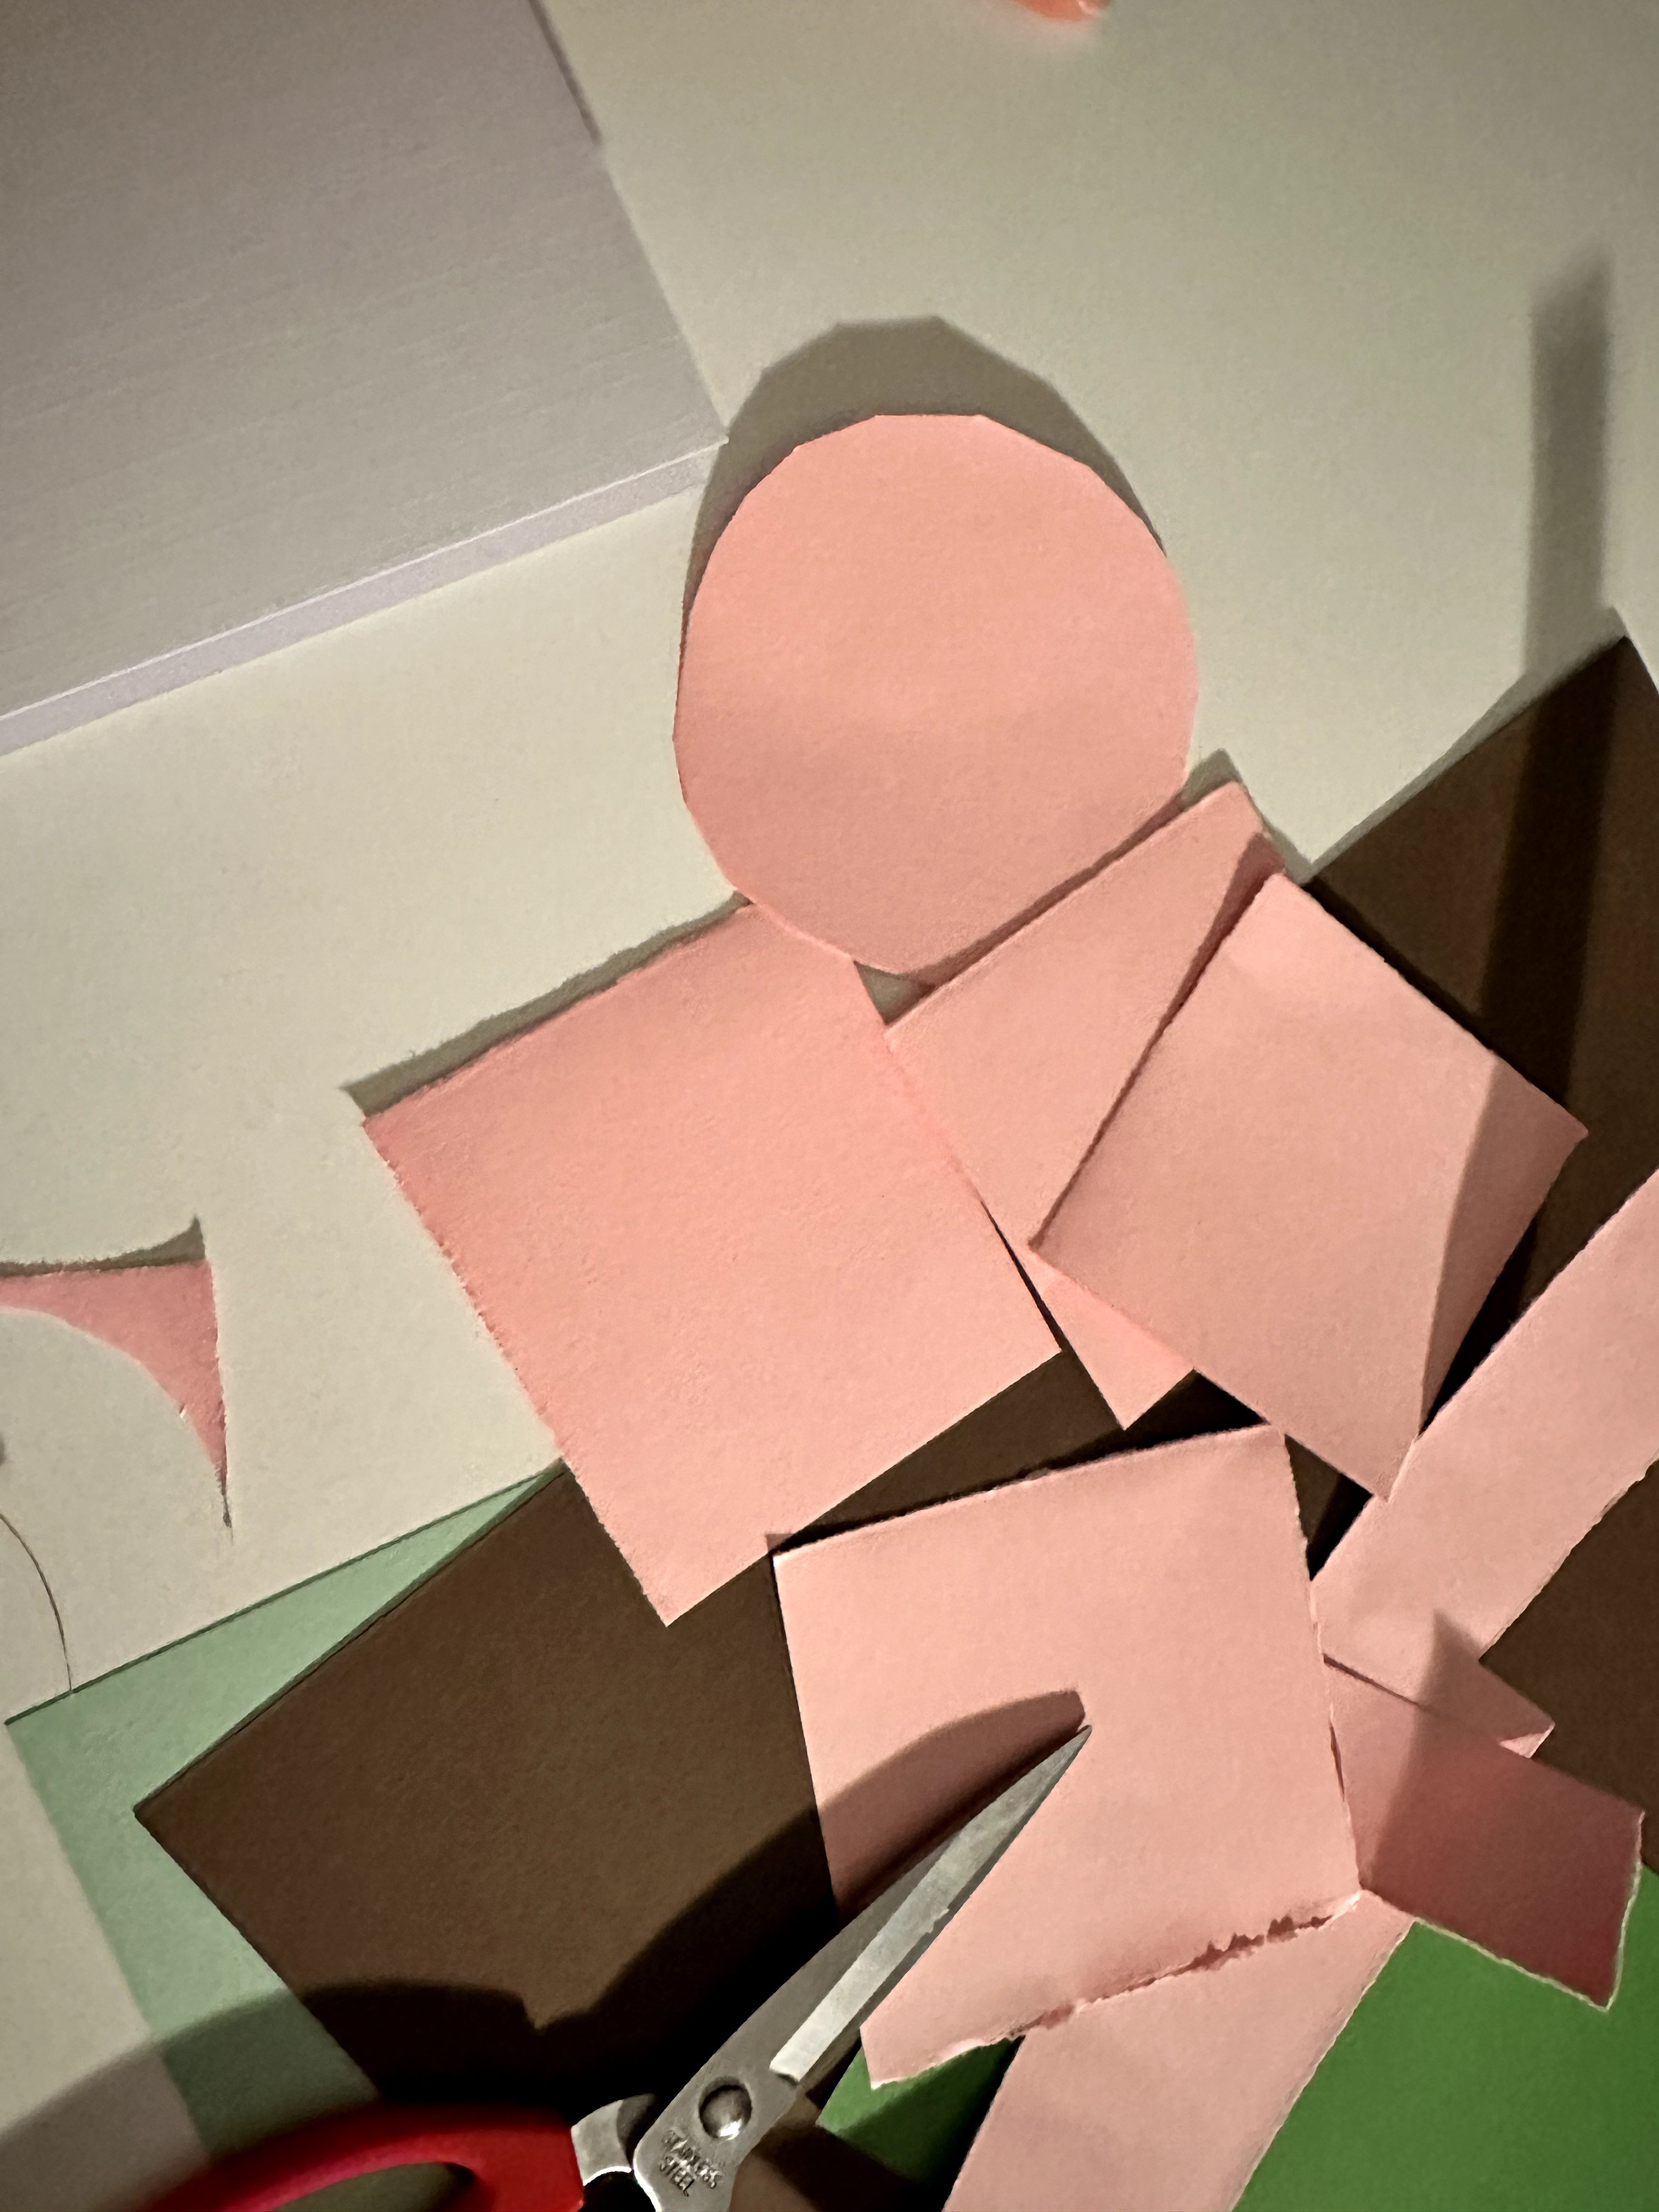
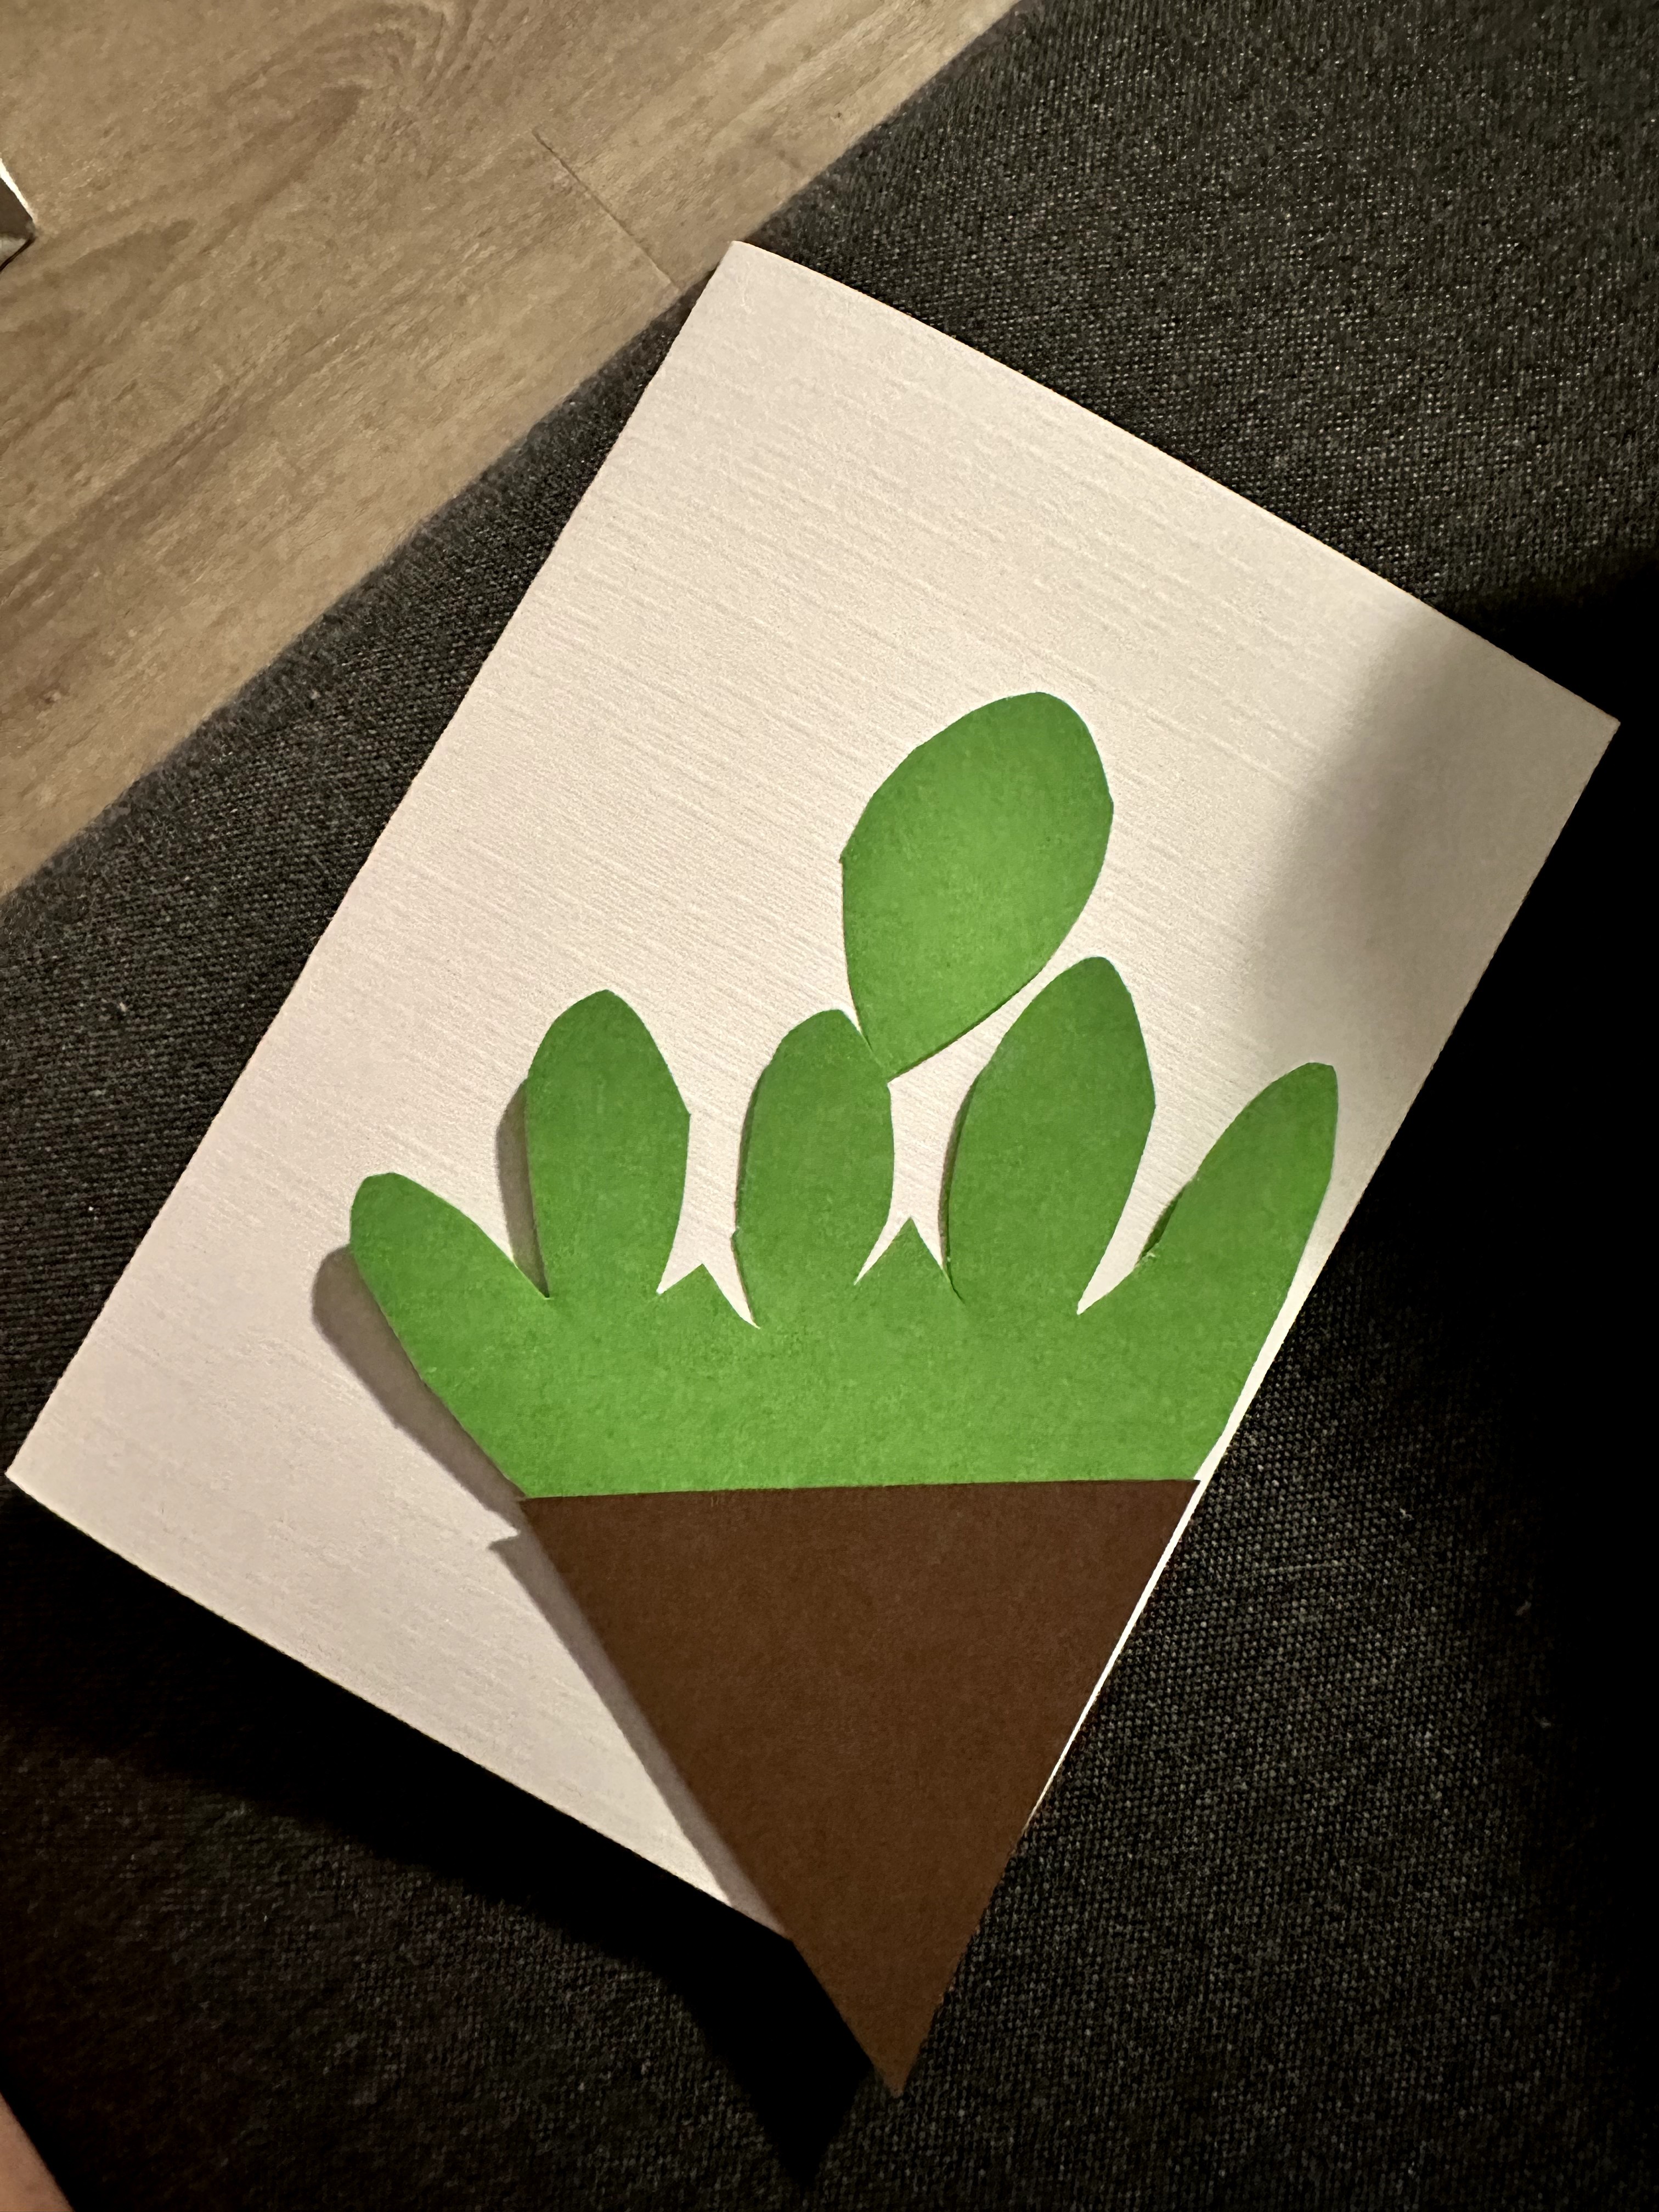
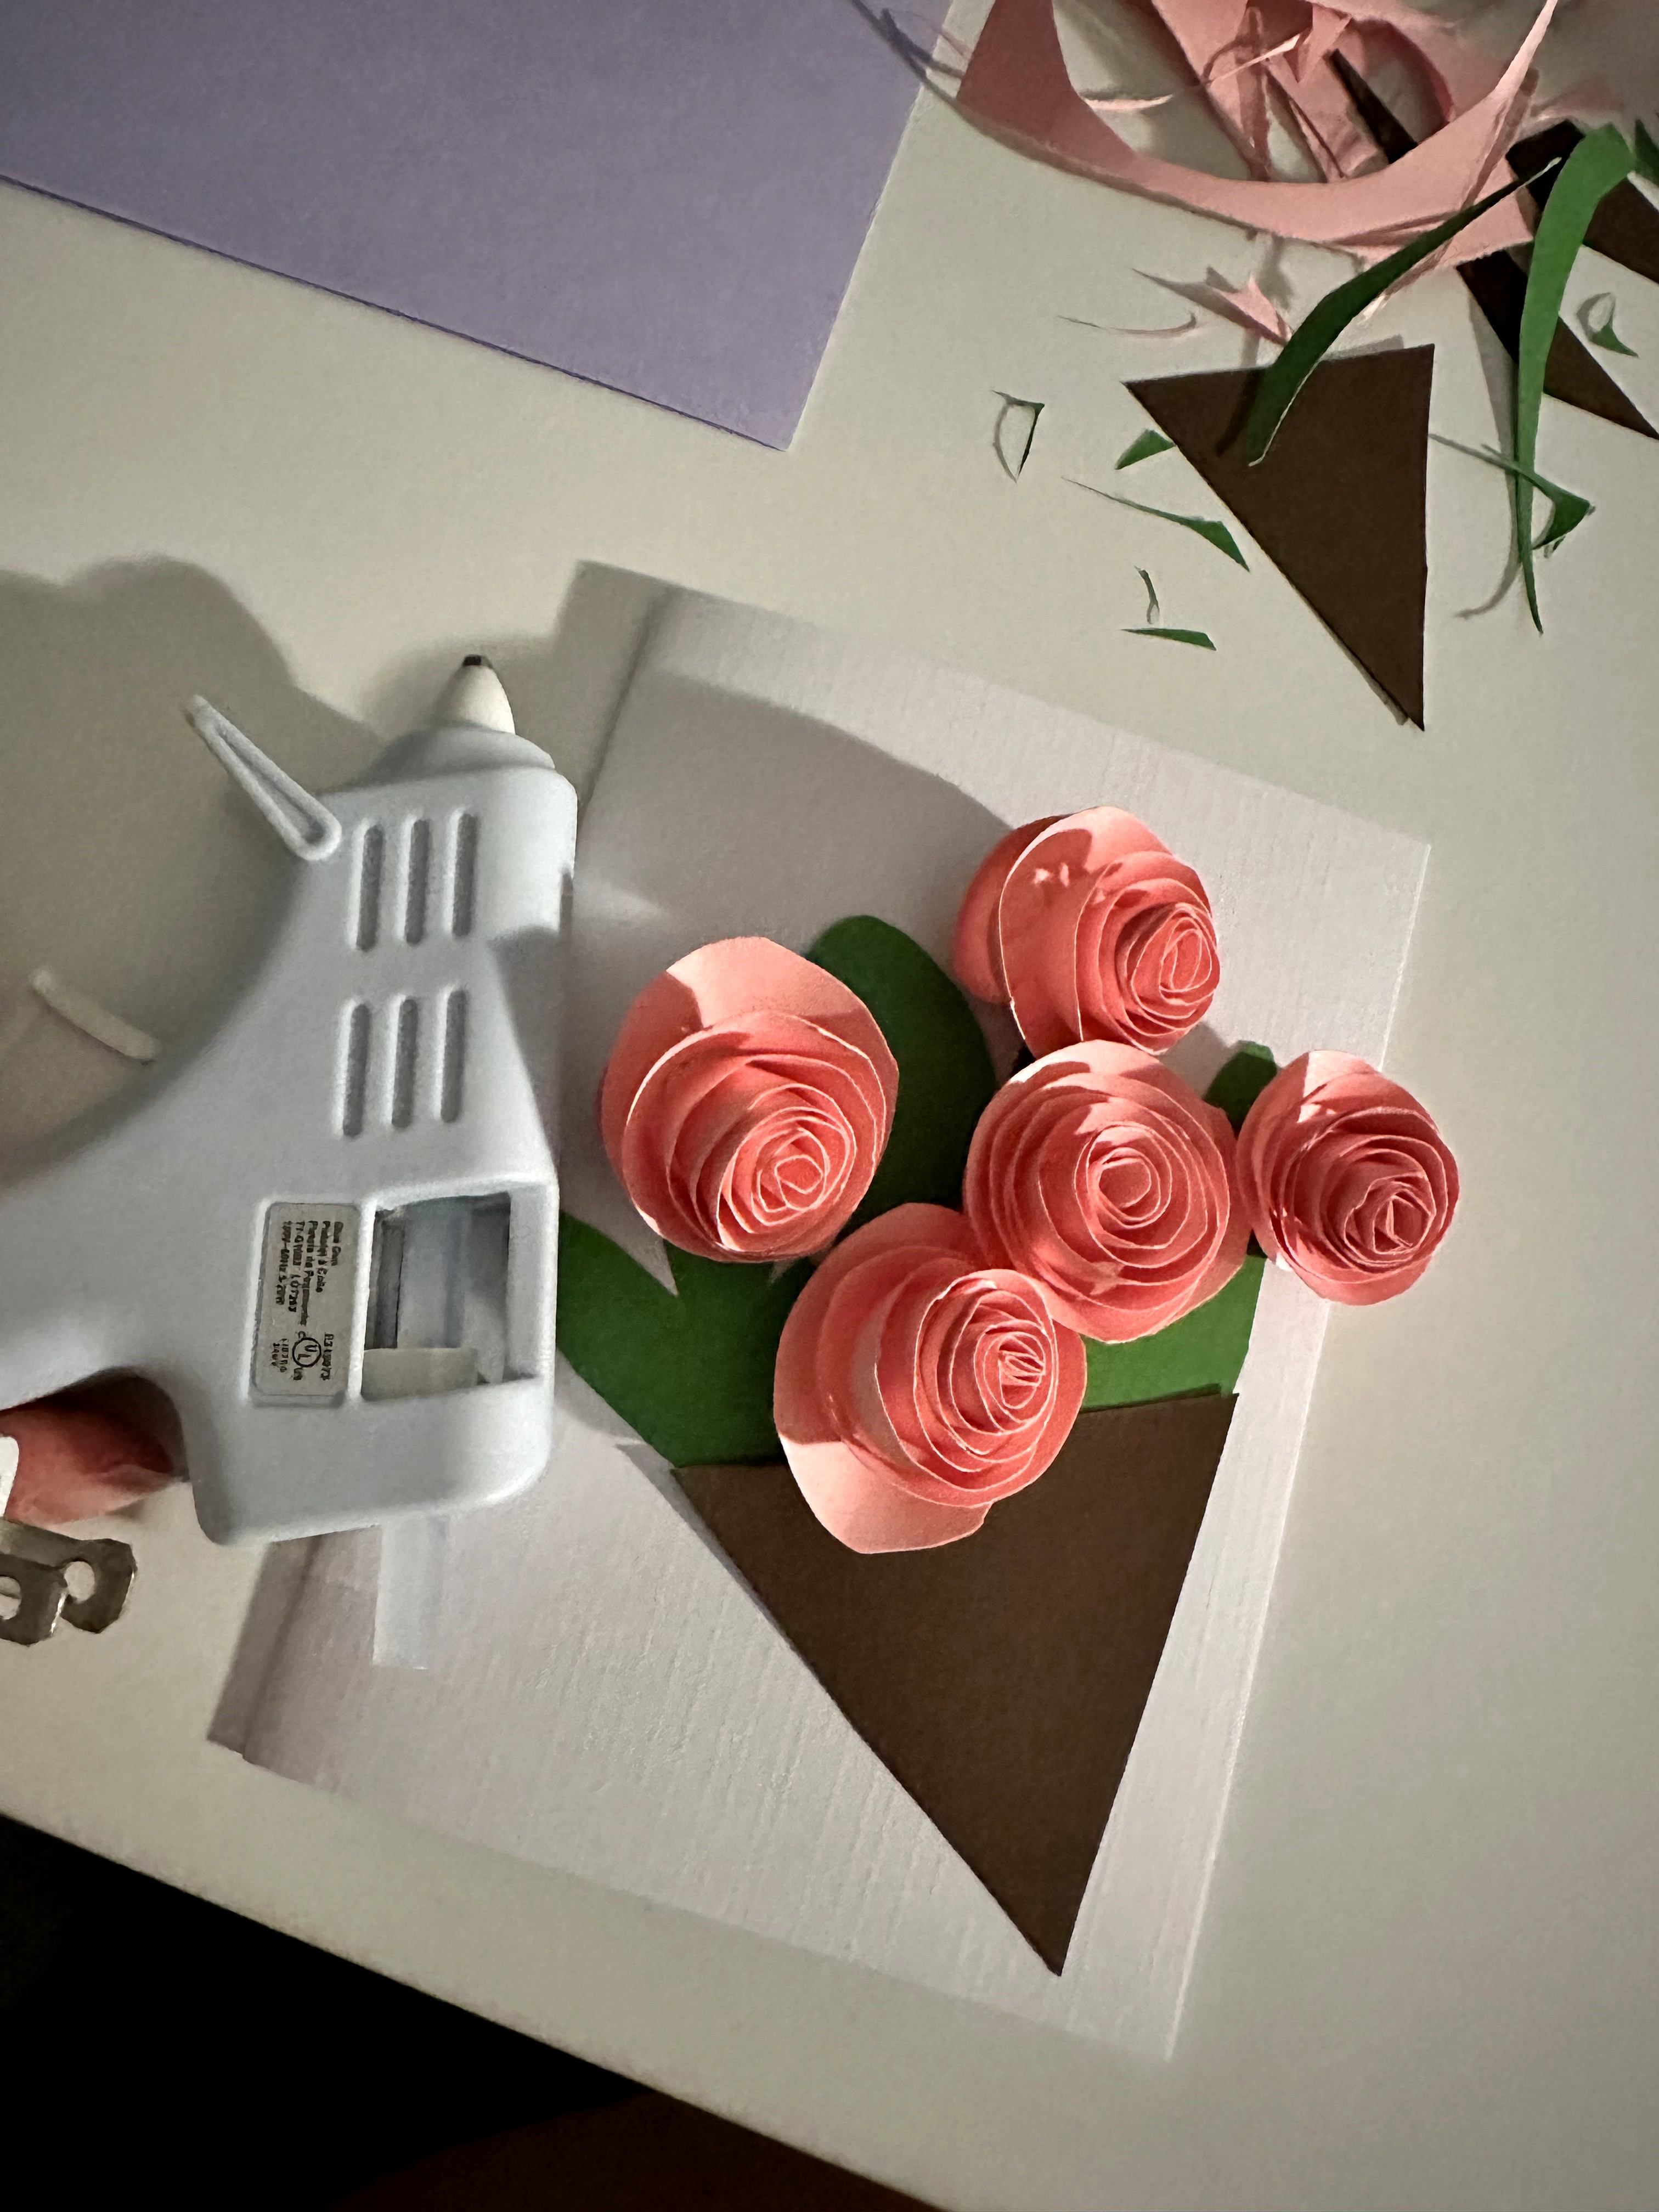
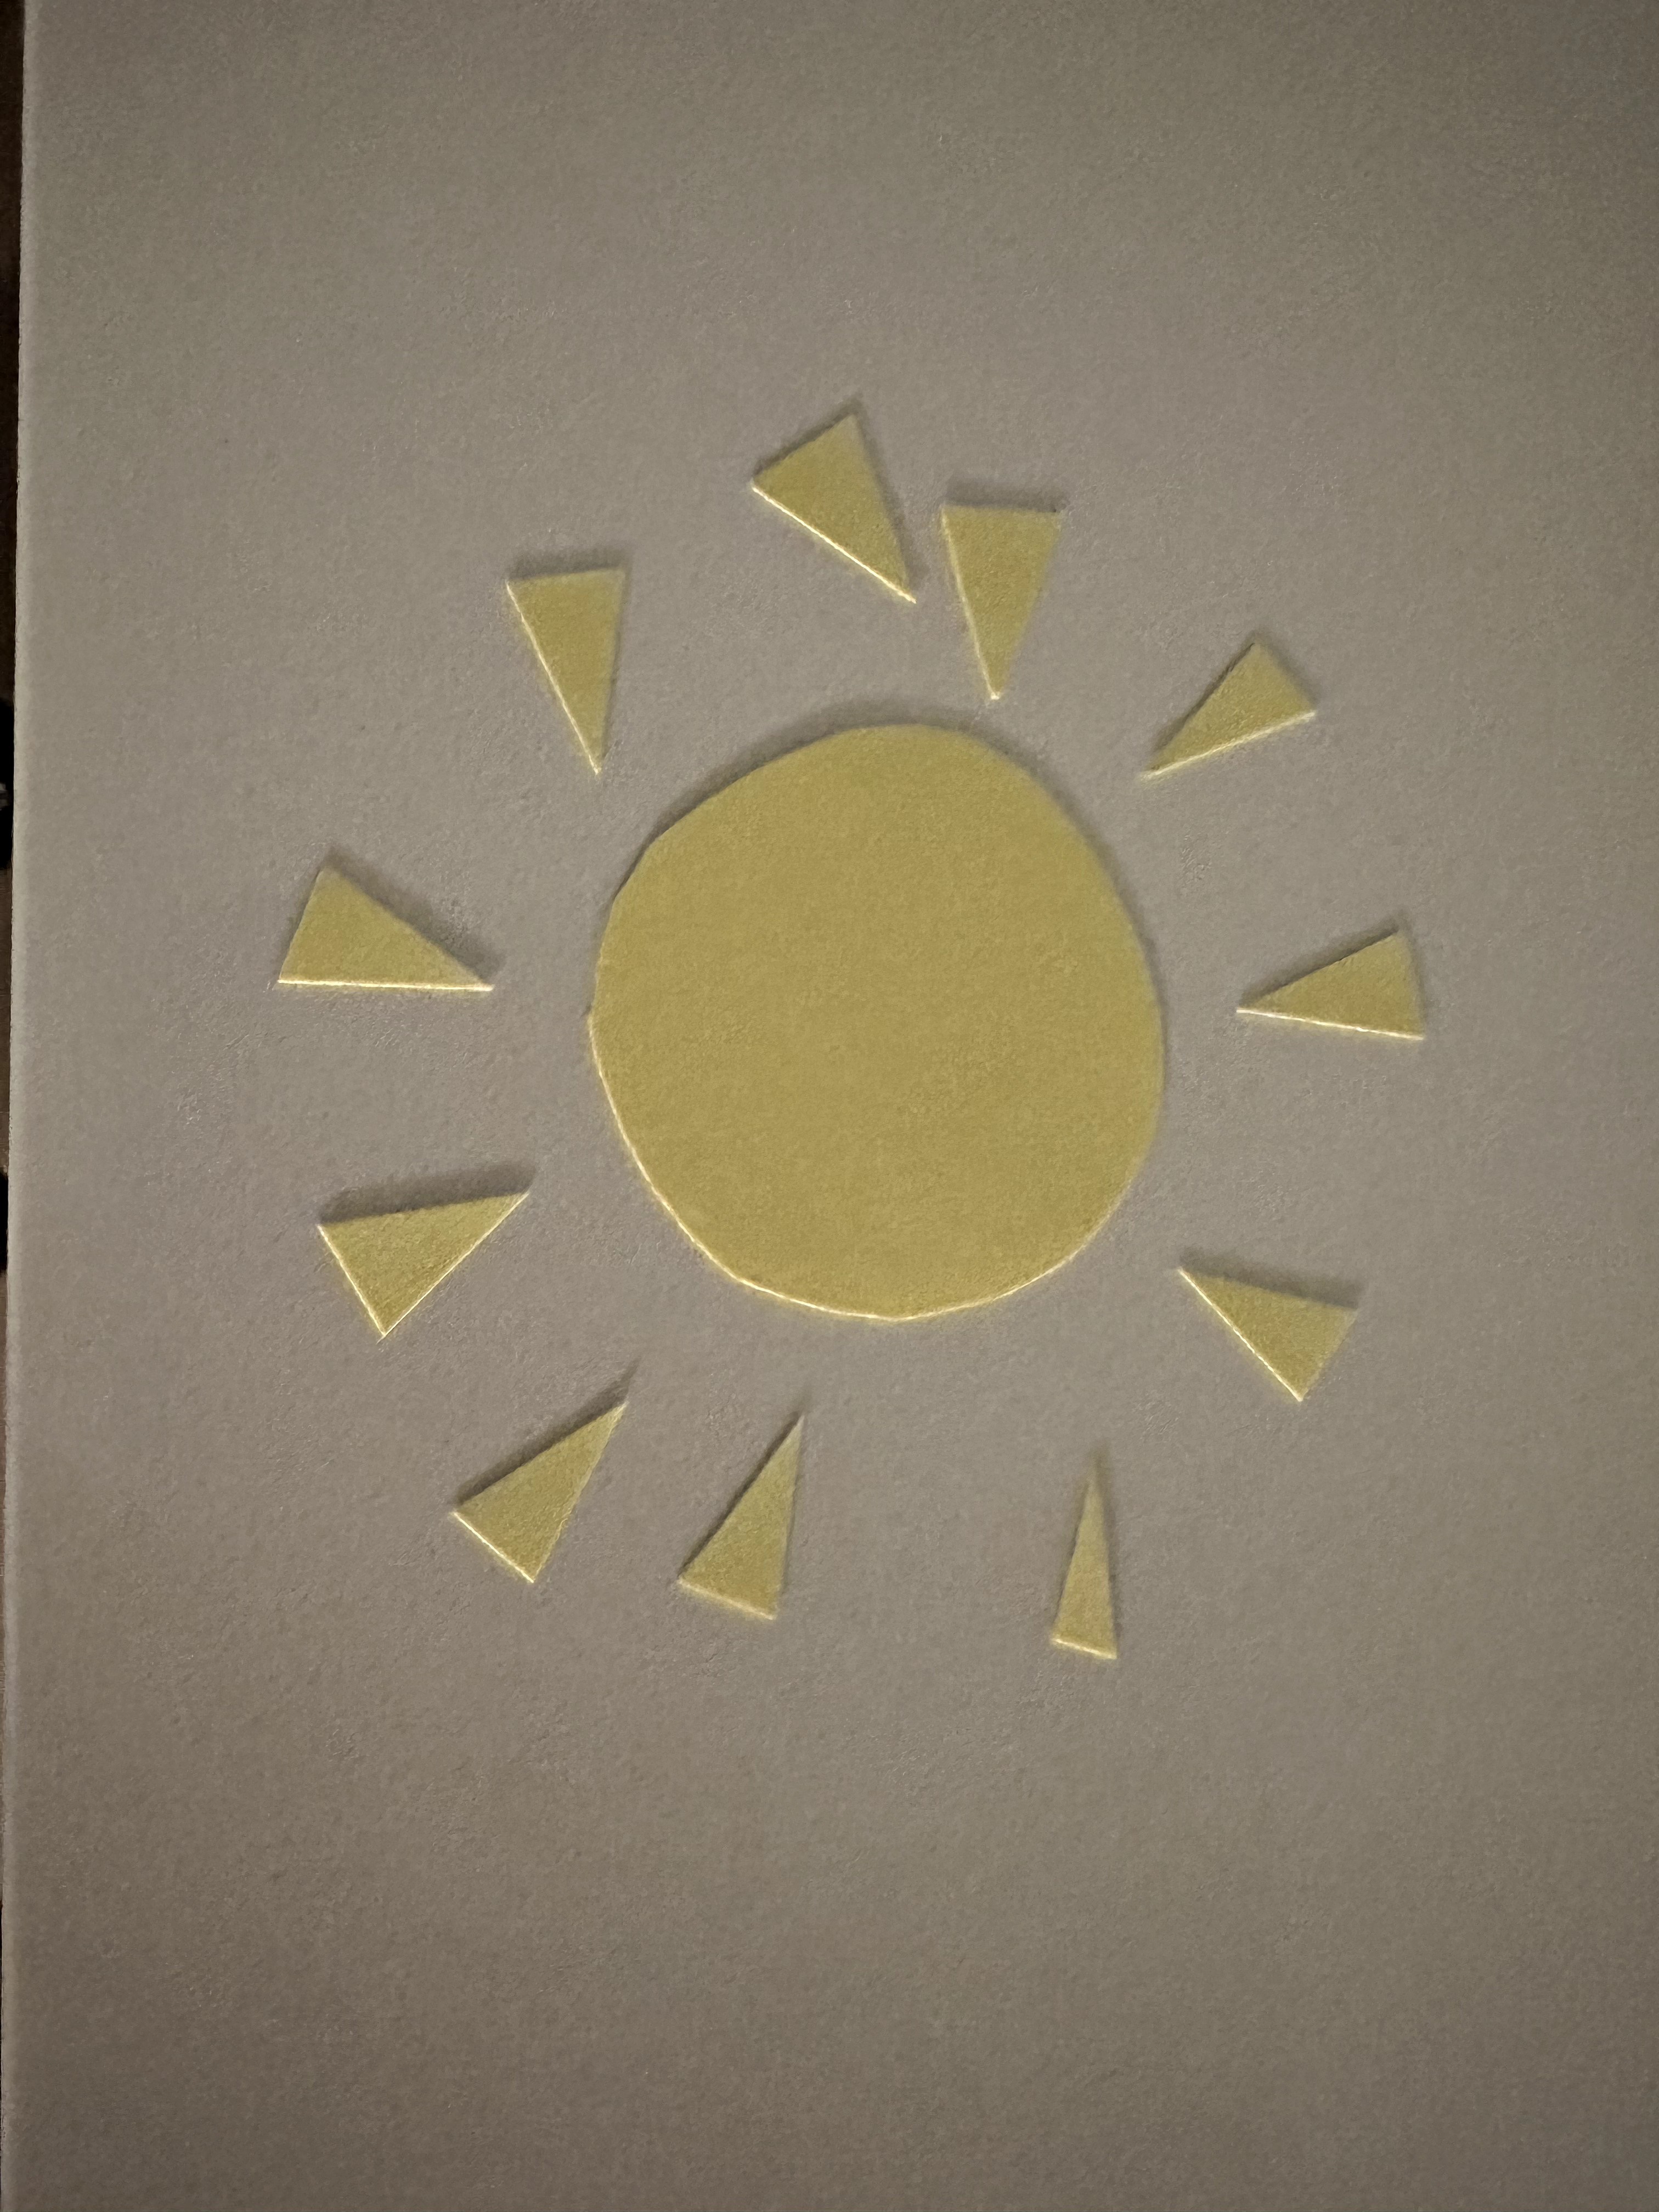
I made 3 roses initially but felt that it looked too empty so I made 5 in total, of varying sizes. I added some greenery (very random leaf shapes) so that the roses did not look lonely, and I attached the roses to the front of the card with a hot glue gun (which is a new addition to my craft supplies!!). I tried my best not to burn myself or to let glue drip onto the table, but it did, as it inevitably does with hot glue guns. For the interior, I chose to create a sun to reflect what a positive effect the preceptor's teaching had on me and a light purple to create some contrast for the writing surface.
I will definitely experiment more with 3D cards and paper flowers in the future because I believe that it creates such a fun texture not only to see, but to feel. The component that I struggle with is how to adhere 3D components to cards in a permanent fashion - I will need to do more research on glues, tapes, metal brads perhaps.